
Back in February I had the basic roadbed down. Over the last few months I made the road surface from styrene sheet, painted and weathered it. Since I used a different method for this road than the surface streets in Emsingen, I paid extra attention to transitioning the colors between the city module and the crossing area. It's not exactly a perfect match, but reasonably close to not be jarring.

I added styrene fillers between the track ties and smoothed the area between the rails with plastic putty, working around the center studs. I do not recommend this method. It's messy, and doesn't look good. Since I had started this way, I decided to finish it, too. It took me several hours over the course of a week to make this look reasonably good. A better approach would have been to e.g. sand down the center studs to the ties, install styrene sheet between the rails and carve a groove for a wire to get power to the center pickup shoe, or alternatively use blackened metal sheet instead of styrene and power the locomotive that way.
Working in this area is very cumbersome. The crossing is 50cm from the operator position and reachable in exactly one way. There are semaphore signals on one side of the road, and bushes on the other side. My next layout will be built with easily removable modules, which will be much more pleasant to work with.

Since I was messing around with the area already, I added ground cover over the tunnel portal, as well as sand and gravel on the yard side of the road. At some later point I'll add more weeds and bushes.
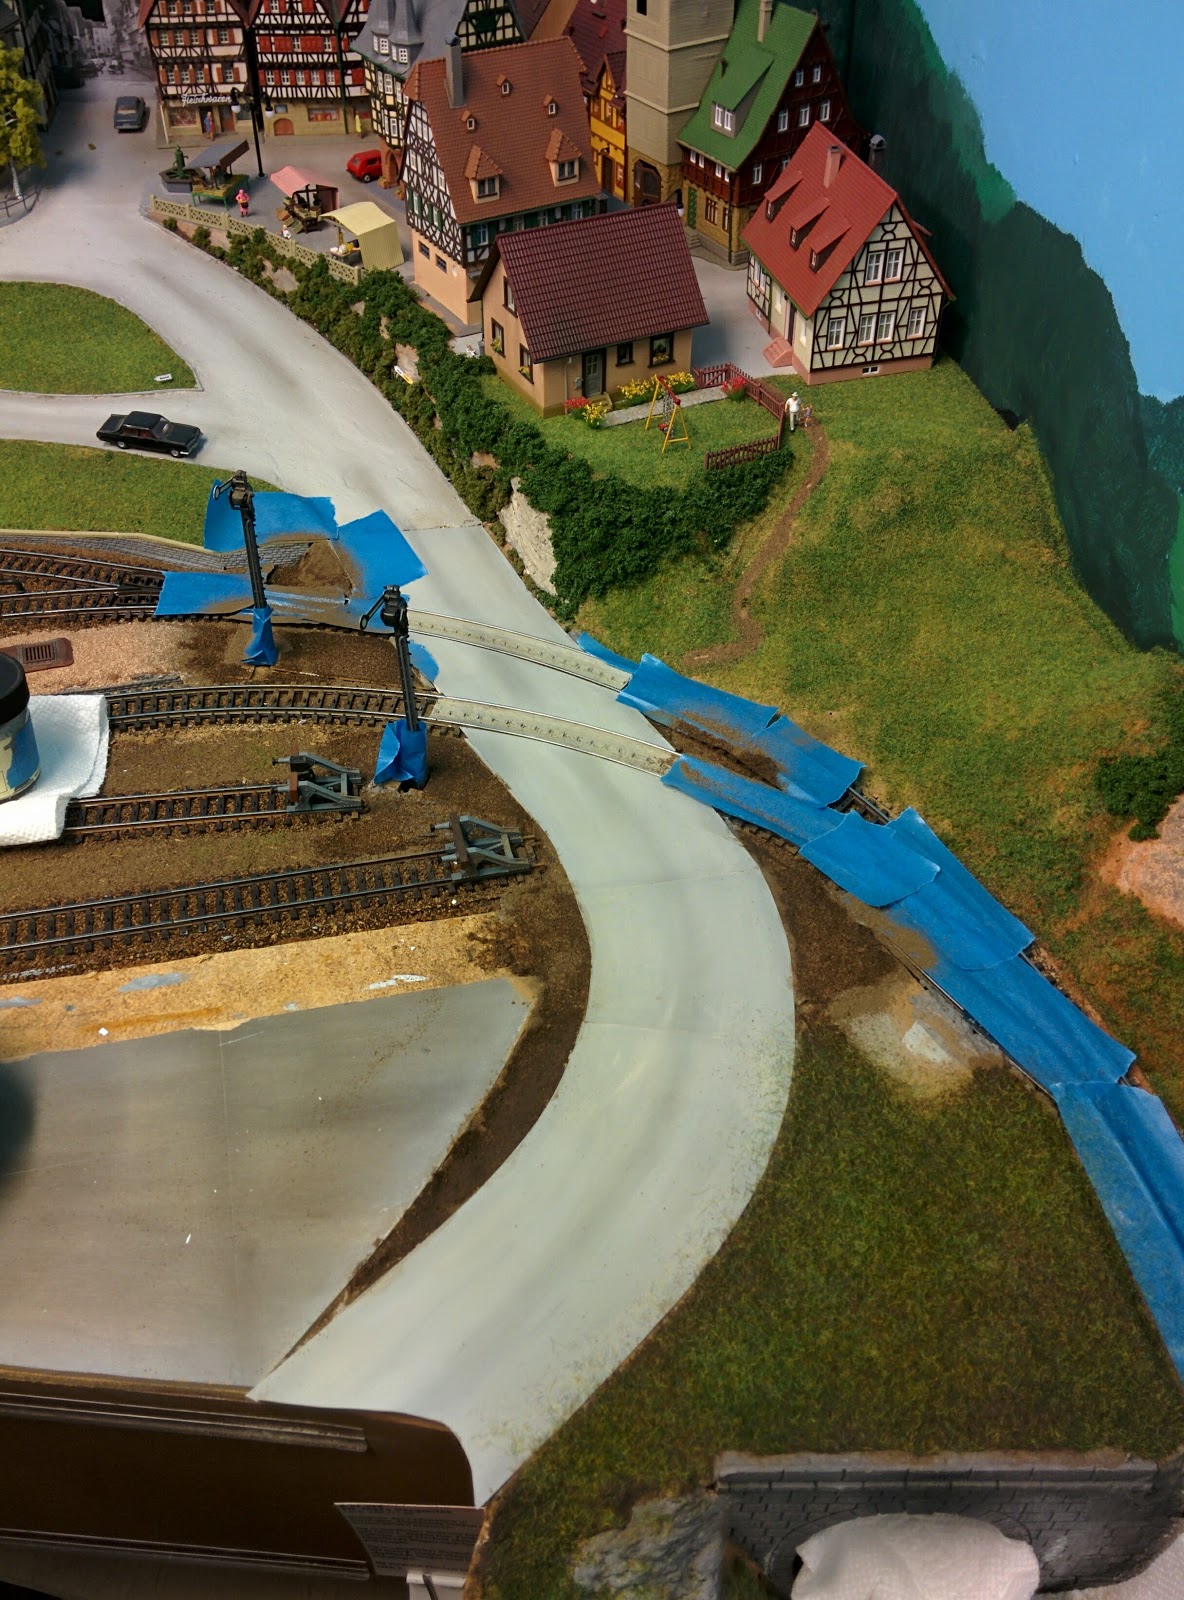
Lots of distractions happened in the following months. This week I got back to the project, taped off the sides of the road with Tamiya 2mm flexible masking tape, and painted the guide lines on the side of the road. They "thin line" variant is 125mm wide in real life. I eyeballed them at about 1mm on the layout which looks roughly right.

When I painted I forgot that this white needs two coats, so the lines came out somewhat faded. I'll leave this as is.

The center guide lines were even more painful, because I need to closely follow the curvature of the road, otherwise the markings will look off. I marked spots on the center line with a pencil, marked the center guide lines with a length of 15mm and gaps of 30mm, ratio of 1:2 as prescribed by German rules for road markings. Like the side lines, I made them about 1mm wide. The overall width of the road is 80mm.

This time I gave the lines two coats before removing the masking tape. To my surprise, this came out quite reasonable. There are a few lines that are not quite following the curvature of the road, but it's noticable only in photos and if you look closely on the layout.

Installing guardrails and reflectors, as well as railroad crossing signs and crossing arms will be next.
No comments:
Post a Comment