Showing posts with label streckenende. Show all posts
Monday, June 10, 2019
Streckenende: Connected
Streckenende traveled in my luggage from California to Germany so that I could connect it to another Fremo-Puko module in Annweiler and verify whether my work is sufficiently accurate. It passed the test, even with the accidental 1mm rail set back. We did find one minor flaw in that I used an end piece with the dutch drainage channel which is wider and a bit removed from the embankment than the German drainage ditch. Not a big deal, just something to pay attention to the next time I order module end pieces.
The photo below nicely shows the difference between Peco Code 100 track on my module and Weinert Code 83 track on the neighboring module. The Weinert track looks obviously better and makes the Peco track look fat. However, since I'm planning to build primarily with K-track, the Peco track remains the better choice for me in order to avoid this effect.
Sunday, June 02, 2019
Streckenende: Storage Box
I built a simple storage box for the Streckenende module. The idea is to use this both as a storage box, but also for transport. The box is constructeed from hardboard and plywood strips.
The bolts and wing nuts hold the module in place, and provide stability.
The box simply sits over the module
Unscrew the bolts and it slides out. If I have enough space in my luggage, the module will travel with me to Germany this week.
Saturday, February 16, 2019
Streckenende: Grass!
The glue needs to dry, but this is going in the right direction. I'm trying to vary colors and texture. I might add an additional layer of gras and flock next, then it's time for bushes.
Thursday, February 14, 2019
Streckenende: Paint, flock, and more Scuptamold
I painted the Streckenende module earthbrown, and sprinkled some Woodland Scenics Fine Turf into areas where water will collect. Then I remembered that I wanted the edges of the roadbed sloped and mixed up some Scuptamold to make it so. Of course, I made too much, so I touched up a few more spots that didn't flow well. Sigh. No grass tonight. No ballast either.
Monday, February 11, 2019
Streckenende: Terraforming
I turned the boring flatness of pink foam into a somewhat hilly landscape today. The first step was to think through what ground features I wanted where, then mark the scenery outline on the module edge, and cut it out with the jigsaw.
Five minutes not-so-gentle carving with the basket rasp turned the pink foam into a rough outline of what I had in mind.
I mixed Scuptamold with brown paint and water, and smoothed out the ground with an artists spatula. The large, wide spatula works really well for general, flowing scenery, while I prefer a small pointed spatula for steeper hills with sharper rock outcroppings like the one at the Tiersteintunnel portal.
Sunday, February 10, 2019
Streckenende: Making a proper module
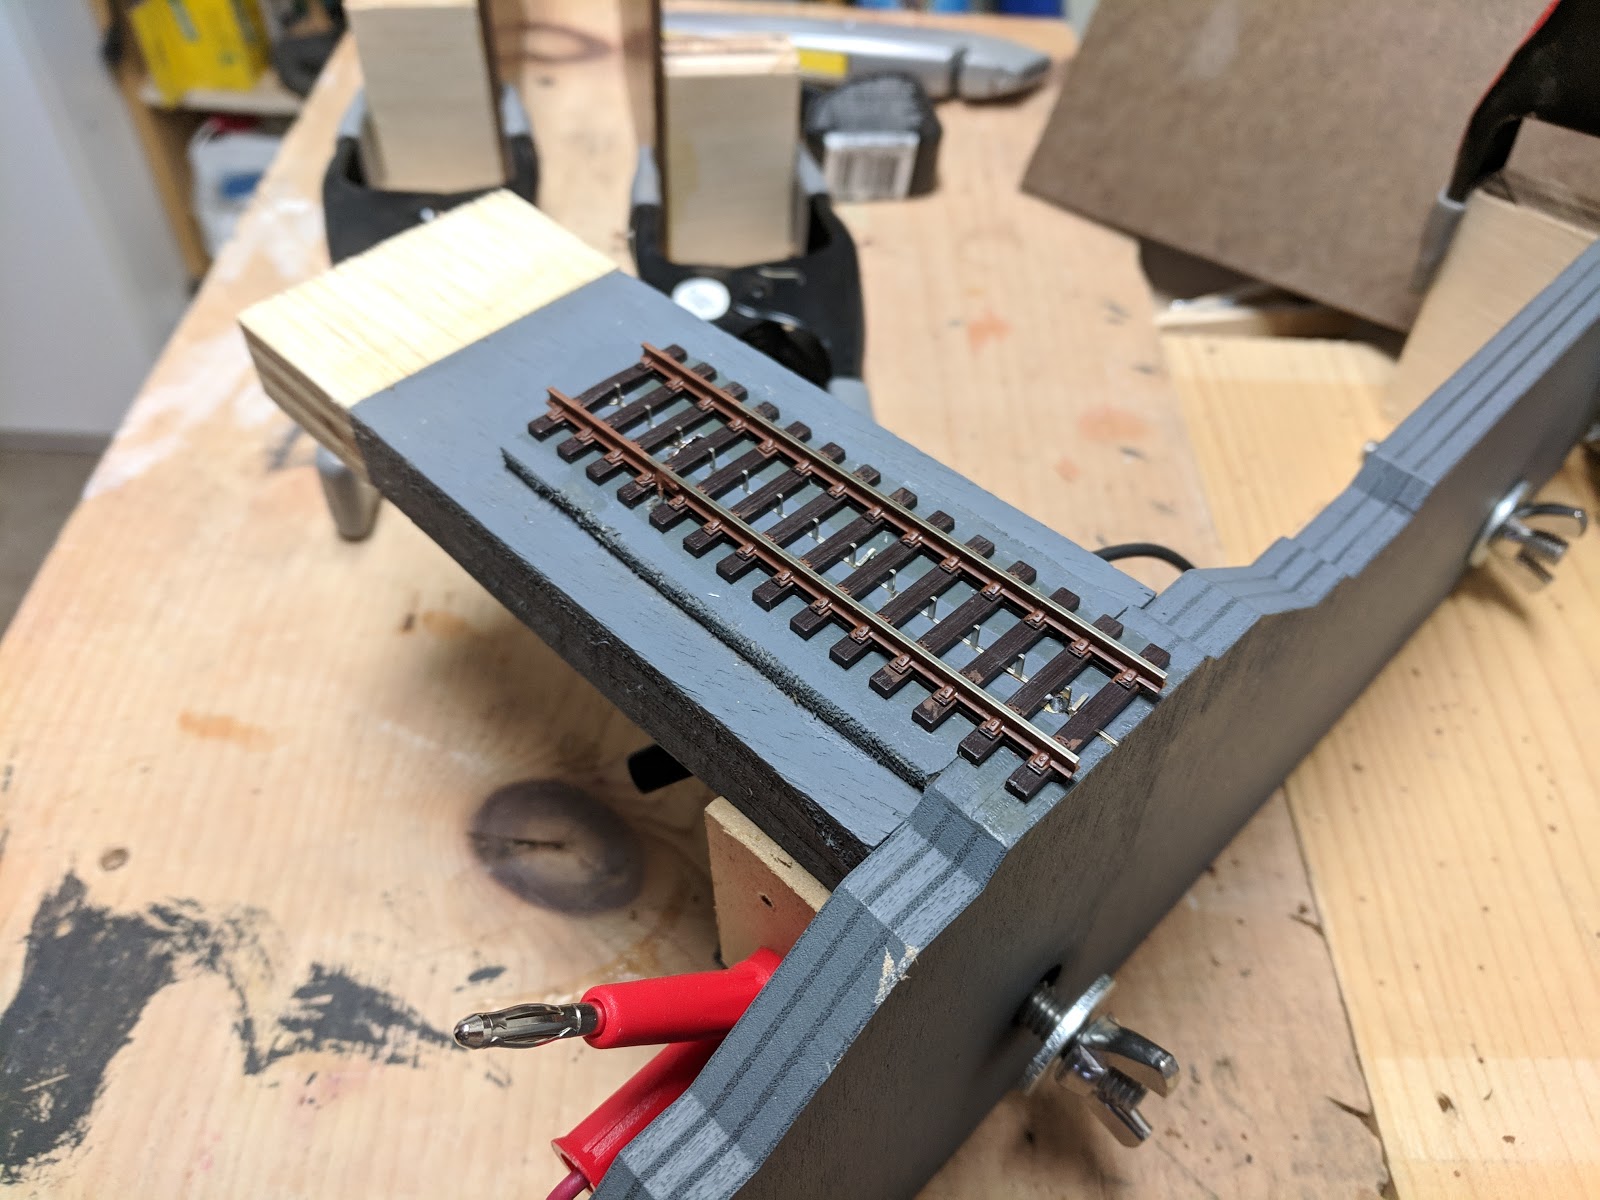
A month ago I used one of Harald Brosch's laser cut module ends to experiment with home made Maerklin track. I figured that if this doesn't work out, not much is lost, and if it does work, I can experiment with Fremo modular connections some more. This all worked, so I decided to make this a proper end module with track bumper and scenery.
I brush-painted the track with two coats of Model Master Leather, which has a pleasing color surprisingly close to what rails look like when they're weathered a bit. I measured and cut hardboard sides and started glueing pieces together.
After rummaging through my stash for a while, I finally found the bumper from Faller's B-141 kit I had put aside for "I may need this in the future at some point". With a slight extension of the track base it fits quite well to the end of the track.
This is a fairly old plastic kit and it needed some modifications. First thing was to cut off the Maerklin-style car bumpers, and cut a small hole under the bumper board for the coupler. I used some styrene to build a box behind the hole.
The box is supposed to be filled with old ballast, but the kit's version is quite crude.
I put a thin layer of Woodland Scenics Brown medium ballast over the top and it looks much better already.
Finally, I dry brushed some white on the bumper board, as well as marked where car bumpers left their prints. The box got some dry brush treatment with lighter and darker browns, as well as a coat of India ink wash to pull it all together.
Subscribe to:
Posts (Atom)