Showing posts with label structures. Show all posts

Friday, August 06, 2021

Untergroeningen Station Building (2)

[ part 1 ]

I've constructed the station building shown in part 1 in Tinkercad, which is a very easy to use online 3D CAD tool. I know it mostly as a tool for users that want to send the resulting model to a 3D printer. Tinkercad makes exact sizing of the model very easy. Measurements of elements are readily accessible, and changing values is trivial.

Developing a 3D model from photos and drawings is interesting. Especially the roof geometry remained a challenge, though at last I finally figured out what the geometry actually must have looked like, based on how the roof lines develop from the walls and what I can deduce from photos taken at eye level from the ground. 

I didn't want to 3D-print the station building, but rather wanted to build a paper model. Much more economical than springing for a 3D-printer and filament. There are many instructions and tools to unwrap 3D models. Dedicated payware like Pepakura (Windows only), Unwrap3D, plugins to Blender, or the native UV Editor built into Blender. I found that unwrapping the whole building became very cumbersome, so I exported only the roof structure as STL from Tinkercad, imported that to Blender, manually set seams using the UV Editor, and constructed a sensible unwrapped roof. Exporting the unwrapped roof from the 2D view in Blender leads to a very low-resolution PNG. I took a screenshoot instead, scaled it to the right dimensions in GIMP, and printed it. Not high-quality, but more than sufficient to cut the shapes. Since the walls are basic boxes I just measured and cut lengths of card stock in the right dimensions.

The photo above shows my first attempt of the paper building on the Untergroeningen module. While the walls look properly proportioned in the 3D model on screen, the paper model is a bit too plump, or fat, when comparing to prototype photos. The roof seems to be a bit too flat as well. The next version is going to have slightly higher walls, and a slightly steeper roof. Adding 3mm to each story and the roof should do the trick.

When comparing with a freight car on the tracks, the building sits too low as well. I need to raise the ground a few millimeters and have a proper building foundation.

Otherwise, I'm pleased with how this scene is developing.

Tuesday, August 03, 2021

Untergroeningen Outbuilding - Completed

 [ Untergroeningen posts ]


The outbuilding is now completed. I added windows and added more weathering. This was a fun build and gave me confidence that I can tackle the larger challenge of scratchbuilding the main station building.


If you want to read the whole story of constructing this outbuilding, start here.

Thursday, July 29, 2021

Untergroeningen Station Building

With the outbuilding mostly completed, I'm starting to work on the station building of Untergroeningen. I have photos. I have an aerial photo. What I don't have are reliable measurements. I made drawings and a mockup from paper, but I felt that the building proportions were not quite right. A couple days ago, I started constructing the building in 3D from the drawings I made earlier. The idea is to replicate viewing angles I have as a photo and see what the 3D model would look like. This is not perfect, since lens distortion and other optical effects get in the way, but I'm hoping to get closer. Here's me first try. Not too shabby, but the proportions are indeed not quite right. I think I might have made the building a bit too deep, but it's hard to tell on the screen.

If only I could make a paper model from the STL 3D model ...

Sunday, July 25, 2021

Untergroeningen Outbuilding (10)

[ part 9 ]

We're coming close to the end of this build. The Outbuilding is basically done. It's missing only the windows and the foundation. The windows will come when I have decided whether to scratch-build, kitbash, or 3D-print them. The foundation will be part of the final installation in the Untergroeningen module, so will come at a later time.

Meanwhile, I have completed the garage doors, added the gable barge boards, a venting pipe, downspouts, and the concrete "Schamwand" in front of the restroom doors. That wall likely used to be made from wood way back when the restrooms were built, and replaced with a concrete wall as the old wooden wall was falling apart. I assume the building got a refresh in the early seventies. Hence, the relatively new roof and mostly spotless garage door, too. 

None of the prototype photos I have show the outbuilding in the early seventies, so I took some artistic license here.

[ finale ]

Sunday, July 18, 2021

Untergroeningen Outbuilding (9)

 [ Untergroeningen posts ]

[ part 8 ]

It's time for the roof. I cut the roof from a Kibri sheet, air brushed with a mix of red, yellow, and brown and accentuated with a alcohol / india ink wash. The gutters are from an old Auhagen roof details set. I made the peeling green paint effect on the gutter with an Aquarell pencil. The gutters are a bit too long and will need a new end piece fitted later. 


I always have some trouble determining the proper length of roof pieces, and often cut the first piece a little bit too short. Getting this right on the first try is not really that hard, but I usually only notice it when I glue the piece to the building. So far I've always managed to mostly disguise my inability of cutting properly sized roofs.


Once the gable barge boards are fitted, you won't be able to tell that one roof sheet is a bit taller to make up for the shortness of the other one.

[ part 10 ]

Friday, July 16, 2021

Untergroeningen Outbuilding (8)

[ part 7 ]

With the base color done, it was time for some detailing. I don't have the right colors to faithfully replicate the colors of the prototype, but I was after a believable brick structure that has some life in it. I experimented with various different approaches on a test piece -- visible behind the outbuilding in the photo below -- and then settled on a technique using Aquarell pencils. I first highlight individual bricks using various Aquarell pencil colors. Of course, the bricks are pretty small, so I usually hit more than one brick at once, and also don't color all the bricks. That's ok. I'm after variety here. For the color palette I chose various dark orange, red, and yellowish tones, as well as gray and black. 

Once the bricks are highlighted and the Aquarells are dry, I flood the mortar lines with an alcohol-based wash made from ModelMaster Flat Cement, plus a couple drops dishwashing liquid. I apply the wash with a fine brush and let the wash run into the mortar lines. Some color will get on top of the bricks and create more color variations. If it gets too much I can wick some of the wash into a damp towel, or direct the wash with the brush to another part of the model.


Once the mortar lines are to my liking and dry, I darken the timbers with a thin layer of Aquarell black and add some highlights with Aquarell gray to suggest aging wood.

[ part 9 ]

Wednesday, July 14, 2021

Untergroeningen Outbuilding (7)

[ part 6 ]

It's amazing how buildings get transformed once you paint them. This afternoon I airbrushed the outbuilding with Vallejo ModelAir Mud Brown (71-037) as a base color matching the base color of the engine shed.

Once that was dry, I brushed a first coat of leather brown on the timbers. The colors are not where I need them to be, but I really like how the paint brings out the texture and character of the building. The garage doors are missing, hence the feature-less area behind the guy.


[ part 8 ]

Monday, July 05, 2021

Untergroeningen Outbuilding (6)

 [ Untergroeningen posts ]

[ part 5 ]

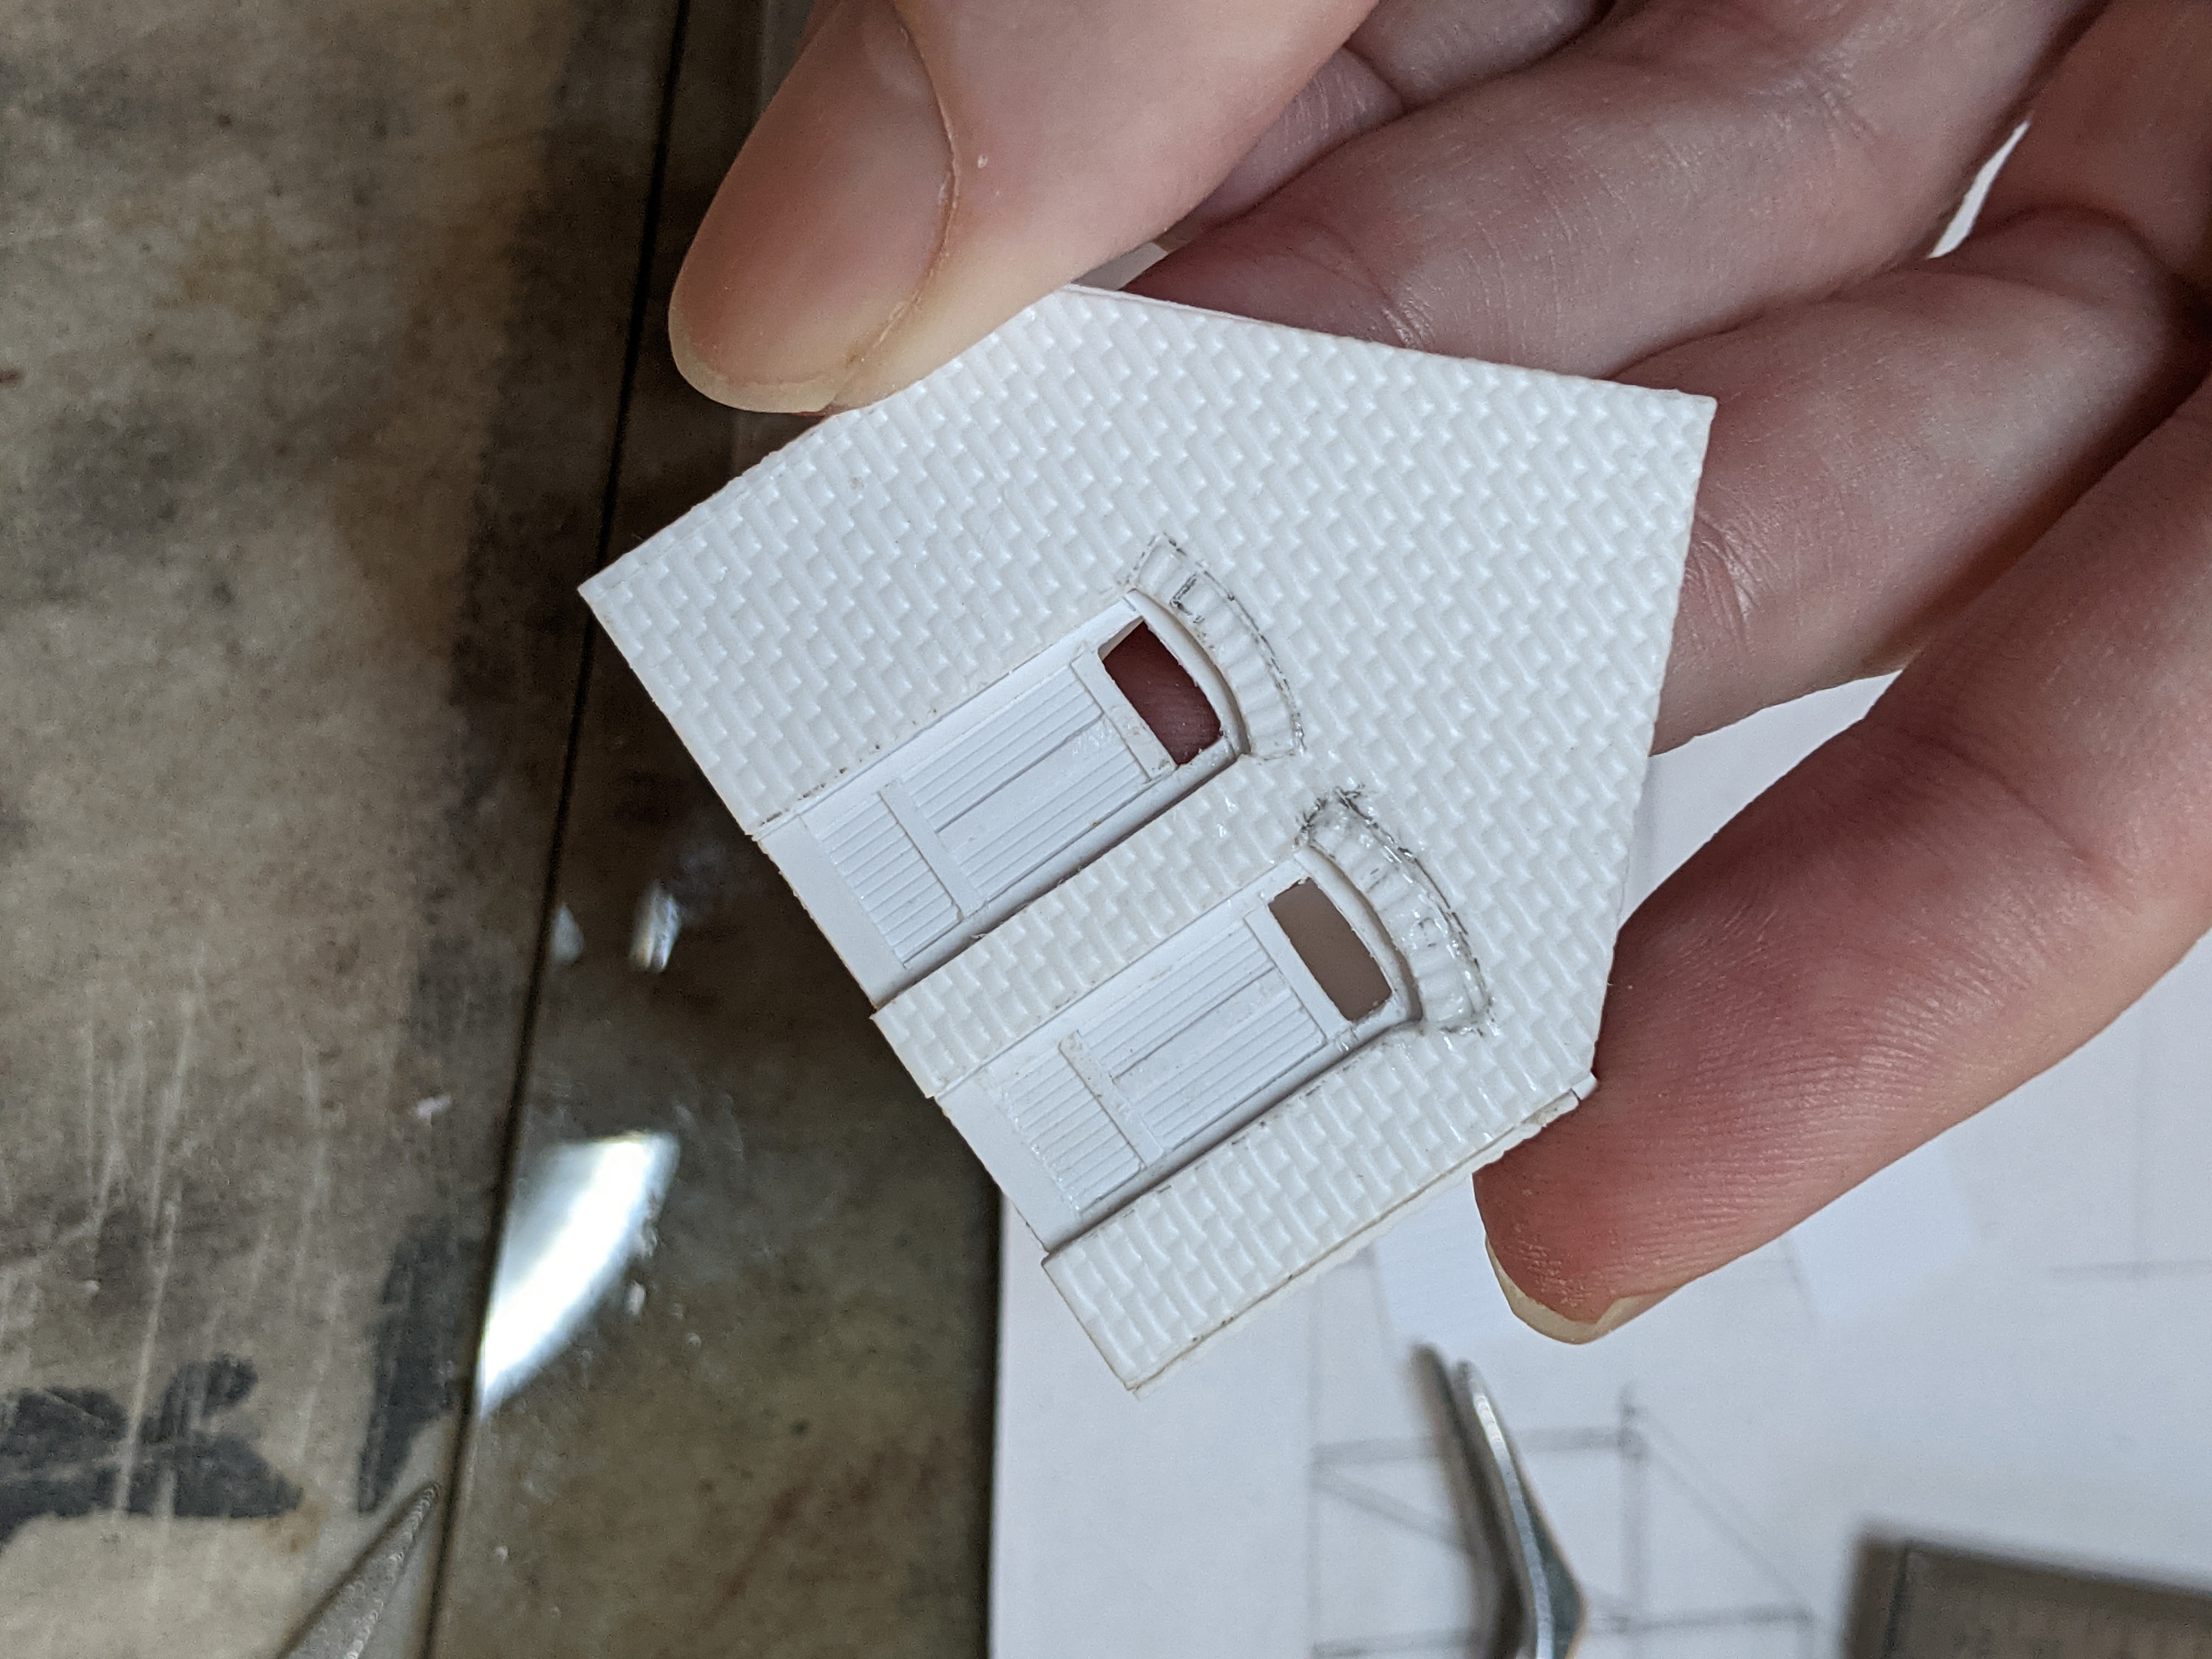
It's time for doors! Making straight cuts and filing 90 degree angles is surprisingly hard when the opening to be worked is only 3 mm by 6 mm and every tool at your disposal seems too big. In the end I managed, but this is pushing boundaries for me both in fine motor skills and eye sight.

The door arches are cut from a sheet from The N Scale Architect. The sheet comes with several different arch styles. The bricks of the one I picked felt too long in comparison to a prototype photo, so I cut a slightly narrower arch.


I shortened the arches so that they fit over the doors and pinned them in place with CA, so that I can mark the outline with a sharp knife. This would have been much easier had I not assembled the building already (Stop whining, Bernhard, you mentioned that previously).


I used a cut-off disk in the Dremel tool to cut away most of the wall that was in my way. This looks much worse than it really was.


After more cutting and filing, and more filing and cutting, I could fit the arches. I went a little overboard on the right door. I fixed that by widening the door opening. No-one's going to measure this, and I have no photos of the doors anyways.


I made the doors from V-groove styrene sheet and strip styrene. I also cut tiny door window openings, since such restroom doors typically have some kind of window in the upper part of the door. See the lead photo at the top for the final result.

While I had the styrene sheets out, I cut the garage doors for the front side of the outbuilding. Both the restroom doors and the garage doors will be kept separate from the building for painting.

[ part 7 ]

Thursday, July 01, 2021

Untergroeningen Outbuilding (5)

 [ Untergroeningen posts ]

[ part 4 ]

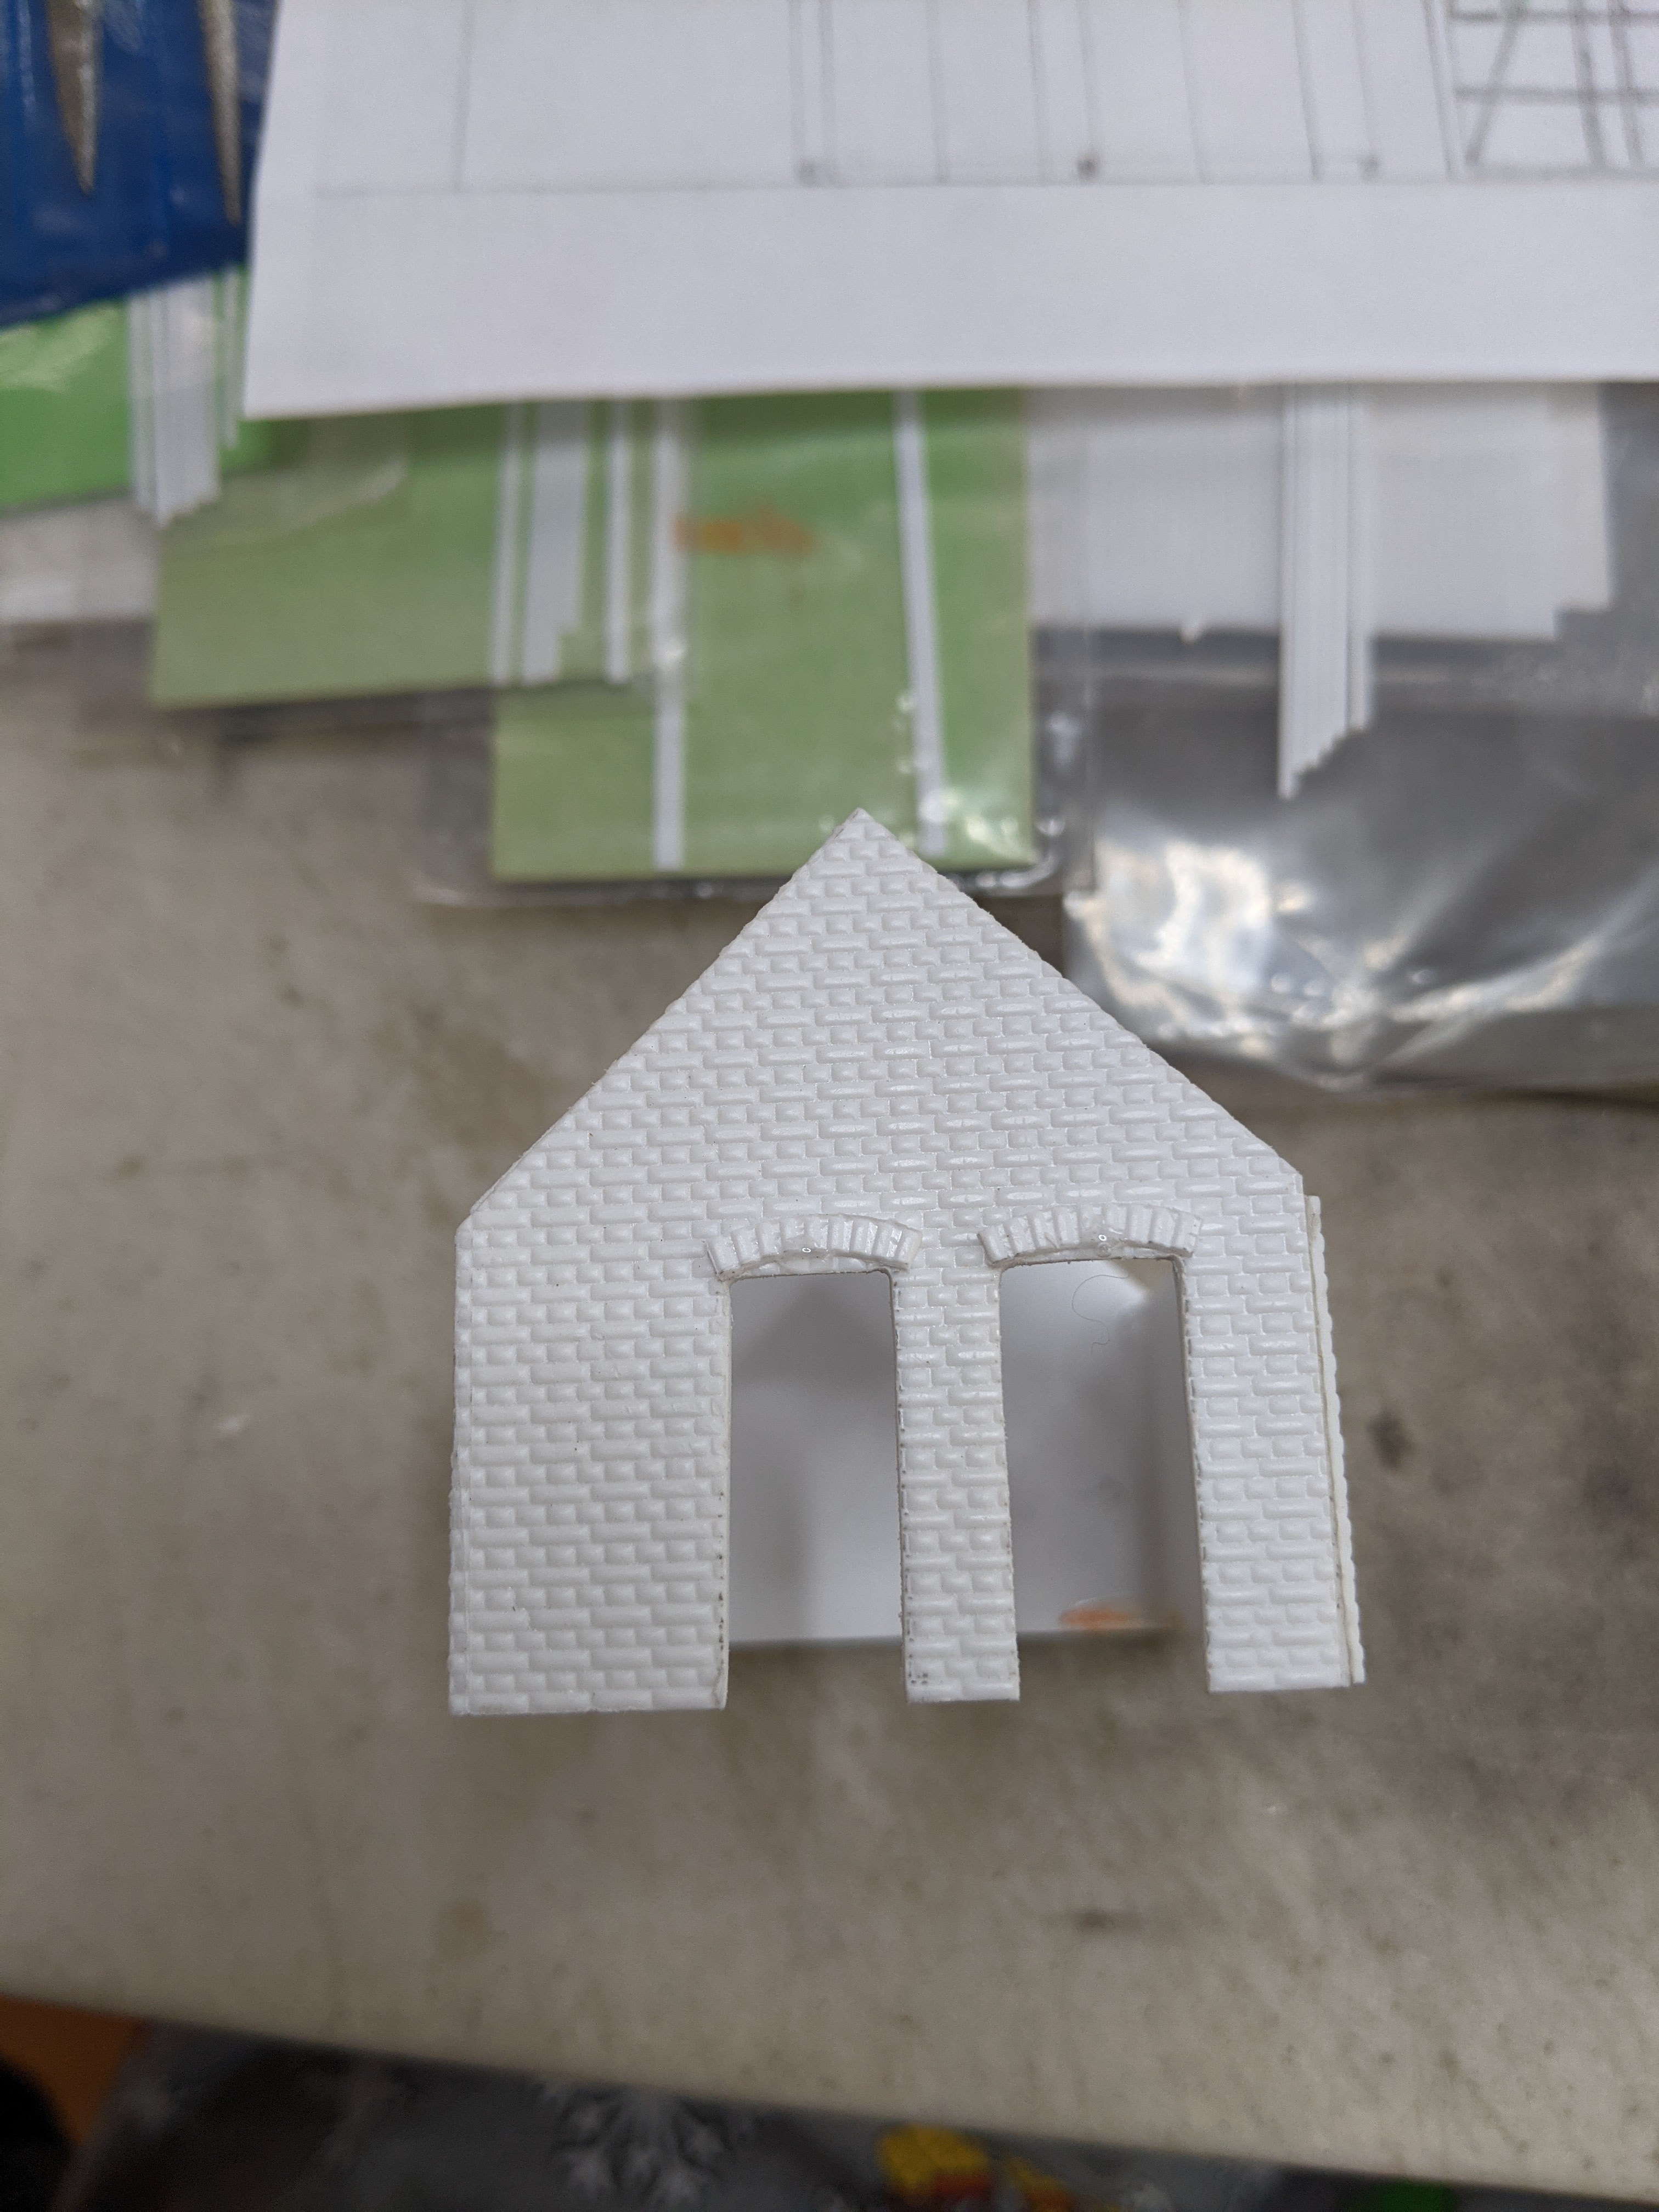
The rough openings for doors and windows are now done. Making these cuts with the assembled building is difficult and messy. I used a combination of tools to make the cuts and clean them up, including a Dremel with the cutoff disk, an Xacto knife, the nibbler, and various needle files. When I build the main station building I will try very hard to not assemble the wall sections until all windows and doors are cut and installed. It's so much easier to do this work when the wall section can be put on a flat surface...

I cut all the windows from the top edge of the wall section. There's a wooden beam that runs along the top edge of the wall that will disguise the cut. The doors to the bathrooms will get a masonry arch that still needs to be cut, so the door height as is is lower than the final arrangement. That will be the next step in this project, and is a good exercise to prepare for building similar arches in the station building.


Below is an in-progress shot of the garage side wall. I have no prototype photos of this side of the building. There's one photo that shows part of the wall in the shade behind a bush. I freelanced the timbers based on what I could pull from that photo and filled in the rest. The non-symmetric appearance is accidental, but I think looks more interesting than my original plan, so I left it.

[ part 6 ]


Monday, June 28, 2021

Untergroeningen Outbuilding (4)

[ part 3 ]

With the core of the building done, I cut and applied styrene brick sheets to get the texture I need. These sheets are from The N-Scale Architect. Despite the name, the company makes the sheets in HO and O scales as well. This is English bond brick sheet, which technically is not quite accurate for my needs, but much closer to the brickwork pattern used in Untergroeningen than the American bond or Flemish bond patterns. The German Wikipedia page about brick patterns calls the English bond "Blockverband", while what I need for Untergroeningen would be "Kreuzverband". I have not been able to find the "Kreuzverband" pattern as brick sheet. Thankfully, the two patterns are very similar, and most people won't notice the difference anyways, so the sheets I have are an acceptable substitute.

After laminating the brick sheet to the core, I continued with representing the timbers of the wooden support structure of the prototype. I'm using 0.010" x 0.040" Evergreen styrene strips laminated on top of the brick sheet. This is a compromise between accuracy and ease of building. The wood timbers should be inside the wall, not laminated on top. There's some shadow effect visible in the lead photo of this post. Once painted this should be less obvious.

[ part 5 ]

Saturday, June 19, 2021

Untergroeningen Outbuilding (3)

 [ Untergroeningen posts ]


[ part 2 ]

With the drawings done and checked, it's time to go to the workbench and pull out the styrene. I first had to take care of and clean up a couple other projects that collected dust there. Once that was out of the way, I started with building the core of the outbuilding.


The NWSL True Sander is very useful to get the edges straight and at ninety degree angle. Working on a glass tile helps with keeping the pieces aligned.


[ part 4 ]

Friday, June 18, 2021

Untergroeningen Outbuilding (2)

 [ Untergroeningen posts ]


[ part 1 ]

I finished the outbuilding drawing from yesterday, made copies and built a paper mock-up to verify appearance and scale. The proportions are slightly off from the original, but close enough that I'm not going to worry about it. I like how the building is coming together.


I tested placement on the module. When I compared the photo below to photos from the prototype, the placement is a bit too close to the station building. However, there's enough space on the module to move the outbuilding a bit further away and still have plenty of space for the wooden shed from the prototype.

[ part 3 ]

Thursday, June 17, 2021

Untergroeningen Outbuilding

 [ Untergroeningen posts ]


My next project is scratch-building the outbuilding at Untergroeningen station. As was common for lines built before and around the turn of the 19th century, the public restrooms were in a building separate from the main station building. In Untergroeningen, the building also includes what looks like a garage, or storage room.

Vergessene Bahnen has several photos of the Untergroeningen station area and its author shared additional photos with me. Thank you, Herr Schruft! I'm using the photos to draw up plans for the building. The guiding idea here is to get the scale right in relation to the HO figure, and approximate the building outline and features as closely as possible. I have clear photos of three building sides. The right hand side is hidden in the shadows of the tree next to the building, so there's some guesswork involved.


Next up is making copies of the drawings, putting together a paper prototype to put on the module, and checking scale in relation to the other buildings.
[ part 2 ]

Thursday, February 13, 2020

Untergroeningen: Locomotive Shed


I made a mockup of the locomotive shed in Untergroeningen from Auhagen Baukasten System wall sections. The look of the shed gets pretty close to the original. There are photos on the Internet, e.g. at Vergessene Bahnen or Eisenbahnfotograf. The water tower on the mockup is a bit too high, and the shed windows are too large compared to the prototype. However, this is a workable compromise between a complete scratch build and a standard kit.


I have not yet found a picture of the locomotive shop area of building, which is located behind the water tower away from the tracks.
[ part 2 ]

Sunday, July 09, 2017

Nr. 121


This switch tower is from my Dad's layout, and I've played with it ... errrm, used it on layouts ... since I was a kid. Today it guards the north end of Emsingen. Thus I added the respective tower identification signs a while ago.


As with so many articles from the 1950's, "121" is not some random house number, but rather the product number. Always useful to see that right up on the wall ...


Wednesday, June 21, 2017

Painless Dentistry


I love it when layouts incorporate some humor. Seen at Griffy's.

Saturday, January 14, 2017

Mockups


The script for automated running successfully completed a 2 hour run today with no accidents and no derailments. I call that good enough. A few mechanical issues were found along the way as expected and mostly taken care of on the spot.

While trains were running I played with various building arrangements for Werner & Soehne. I decided pretty quickly that rectangular building shapes are not going to cut it here (contrary to earlier plans), so a more substantial kitbash of the well-known Kibri factory will be needed to fill the triangle between the two tracks serving the factory. The short wall on the right will be reduced to only two columns so that the building can slide closer to the turnout. The cut-off column will be used to fill the gap between the other short wall and the administration tower.
The large loading ramp will move from the rear to the aisle side of the building giving me an opportunity for lots of detailing work at some point in the future.


I'll keep the coal dump at the end of the rear track and kit bash the second building as half-relief from DPM parts and some parts from Faller's B-159 "Lokwerkstatt" kit, which has been sitting on a shelf for the last 25+ years.


On the other side of the aisle I did the fourth revision of the track arrangement on this shelf. Kibri's kit of the Herrenberg agricultural supply building seems a bit underscale, especially the silo tower. It should be quite straight-forward to make it a bit taller...


I like this new track arrangement. I flows better than earlier versions and the silo tower draws the eye away from the background.

Thursday, December 08, 2016

Hallelujah Paper: Pipes


1/16th styrene rod, a candle and a bit of patience contributed to this photo. What I haven't quite figured out yet is making exact bends, so that everything is parallel when multiple pipes run close to each other. I guess it's "just" practice.

Wednesday, November 30, 2016

Hallelujah Paper: Rotary Dumper


 The Rotary Dumper is installed in the wood yard. It looks quite nice in its little corner.


During operation sessions wood chip cars will be spotted on the lead in front of the rotary dumper. We assume they get emptied "between sessions".

Friday, November 25, 2016

Hallelujah Paper: Chemical Tanks testing on the layout


I took the chemical unloading with the tanks to Silicon Valley Lines tonight, to check sizing and look. The additional two large tanks represented by pieces of ABS pipe in the photos are definitely needed to give the facility a bit more heft.

In combination with the tanks next to the paper machine, this will be a nice complex when it is completed eventually ...


Kit-bashing catwalks and adding pipes around the tanks with barely any right angles is a great exercise to test one's patience.


Since I have only a limited supply of catwalks from the Kibri kit I raided for this build, I scratch-built more from styrene sheet, U-channel, and railing.