Showing posts with label weathering. Show all posts

Sunday, January 24, 2021

SVL: 2-Bay Hoppers for Ashgrove (2)


I'm done with the first batch of the 2-bay hoppers I'm preparing for servicing the Ashgrove quarry in Jacksonville on the Silicon Valley Lines. After painting and basic weathering the cars over the last couple weeks, today all cars got their matte varnish coat while I was watching the tsg multimedia Layout Design Panel Discussion.

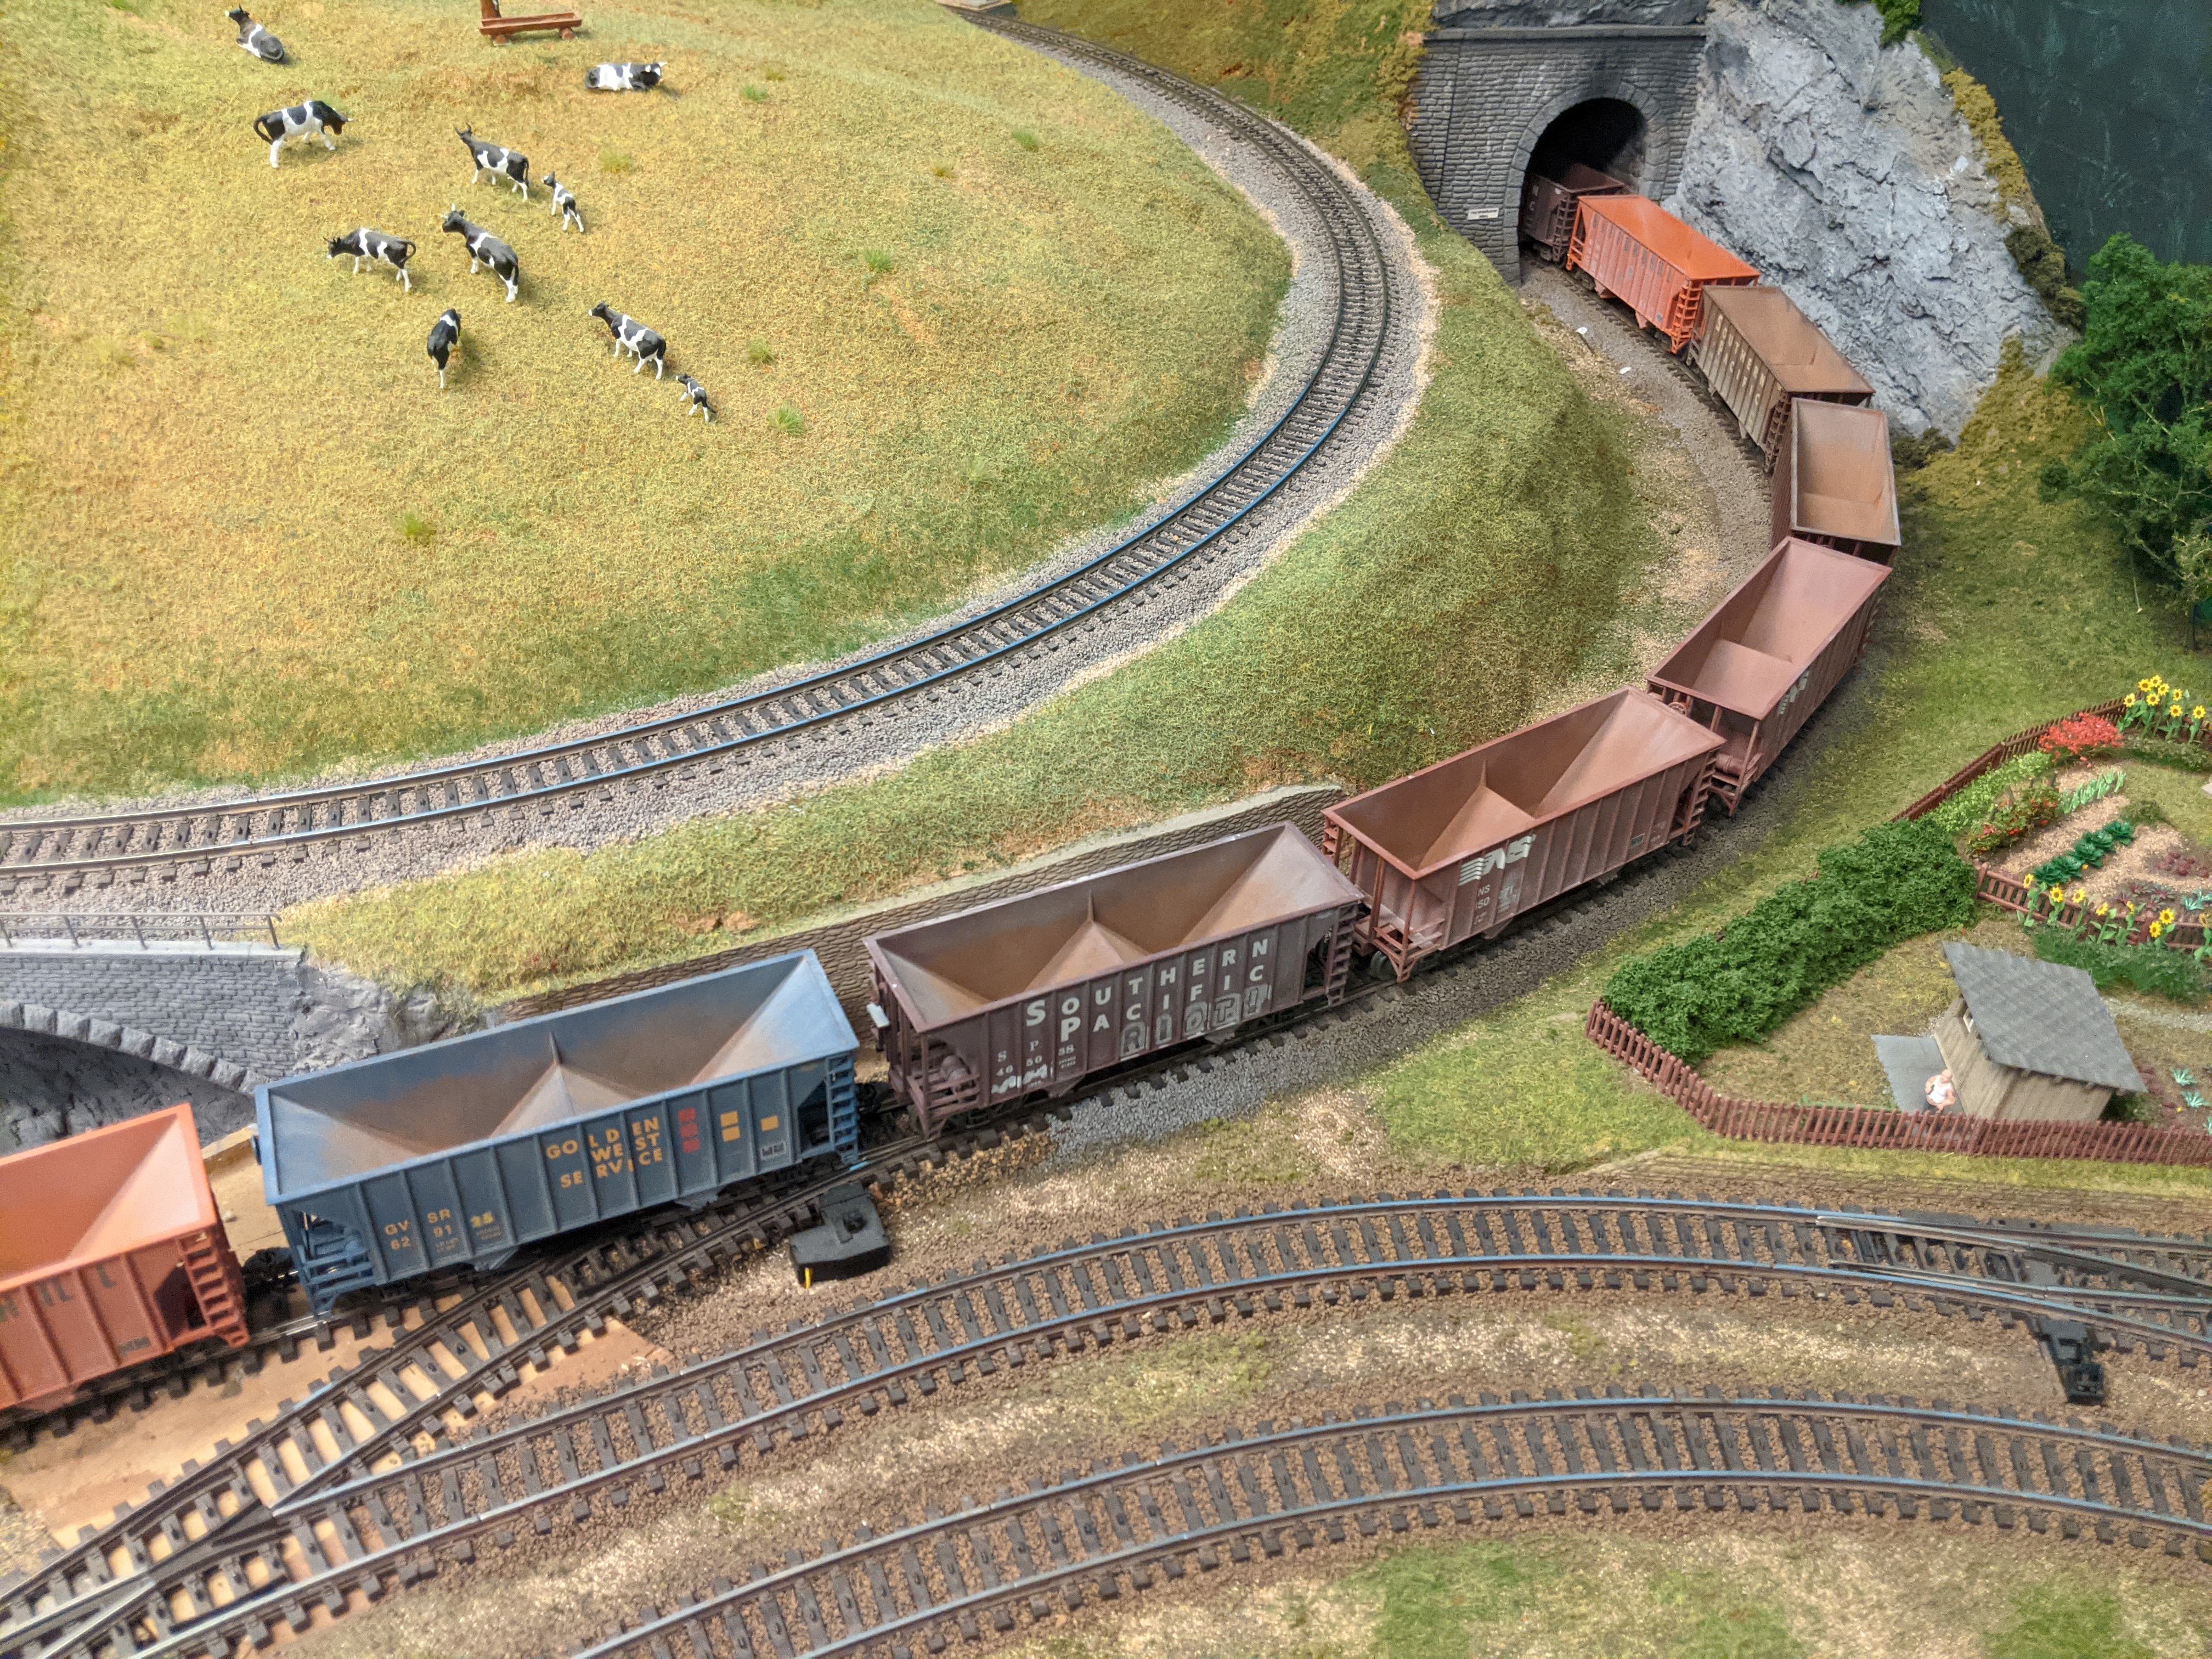
Here are all 9 cars staged on the Welztalbahn. While it was a lot of fun giving a bunch of very similar cars a unique personality each, and I still have another 9 cars to work on, I'm now going to pivot back to the Untergröningen module. A couple orders have arrived, so I can continue working on kitbashing the locomotive shed and scratch-building the station building.

Sunday, January 17, 2021

SVL: 2-Bay Hoppers for Ashgrove

Two hoppers with basic weathering in the front. Several more unfinished in the background.

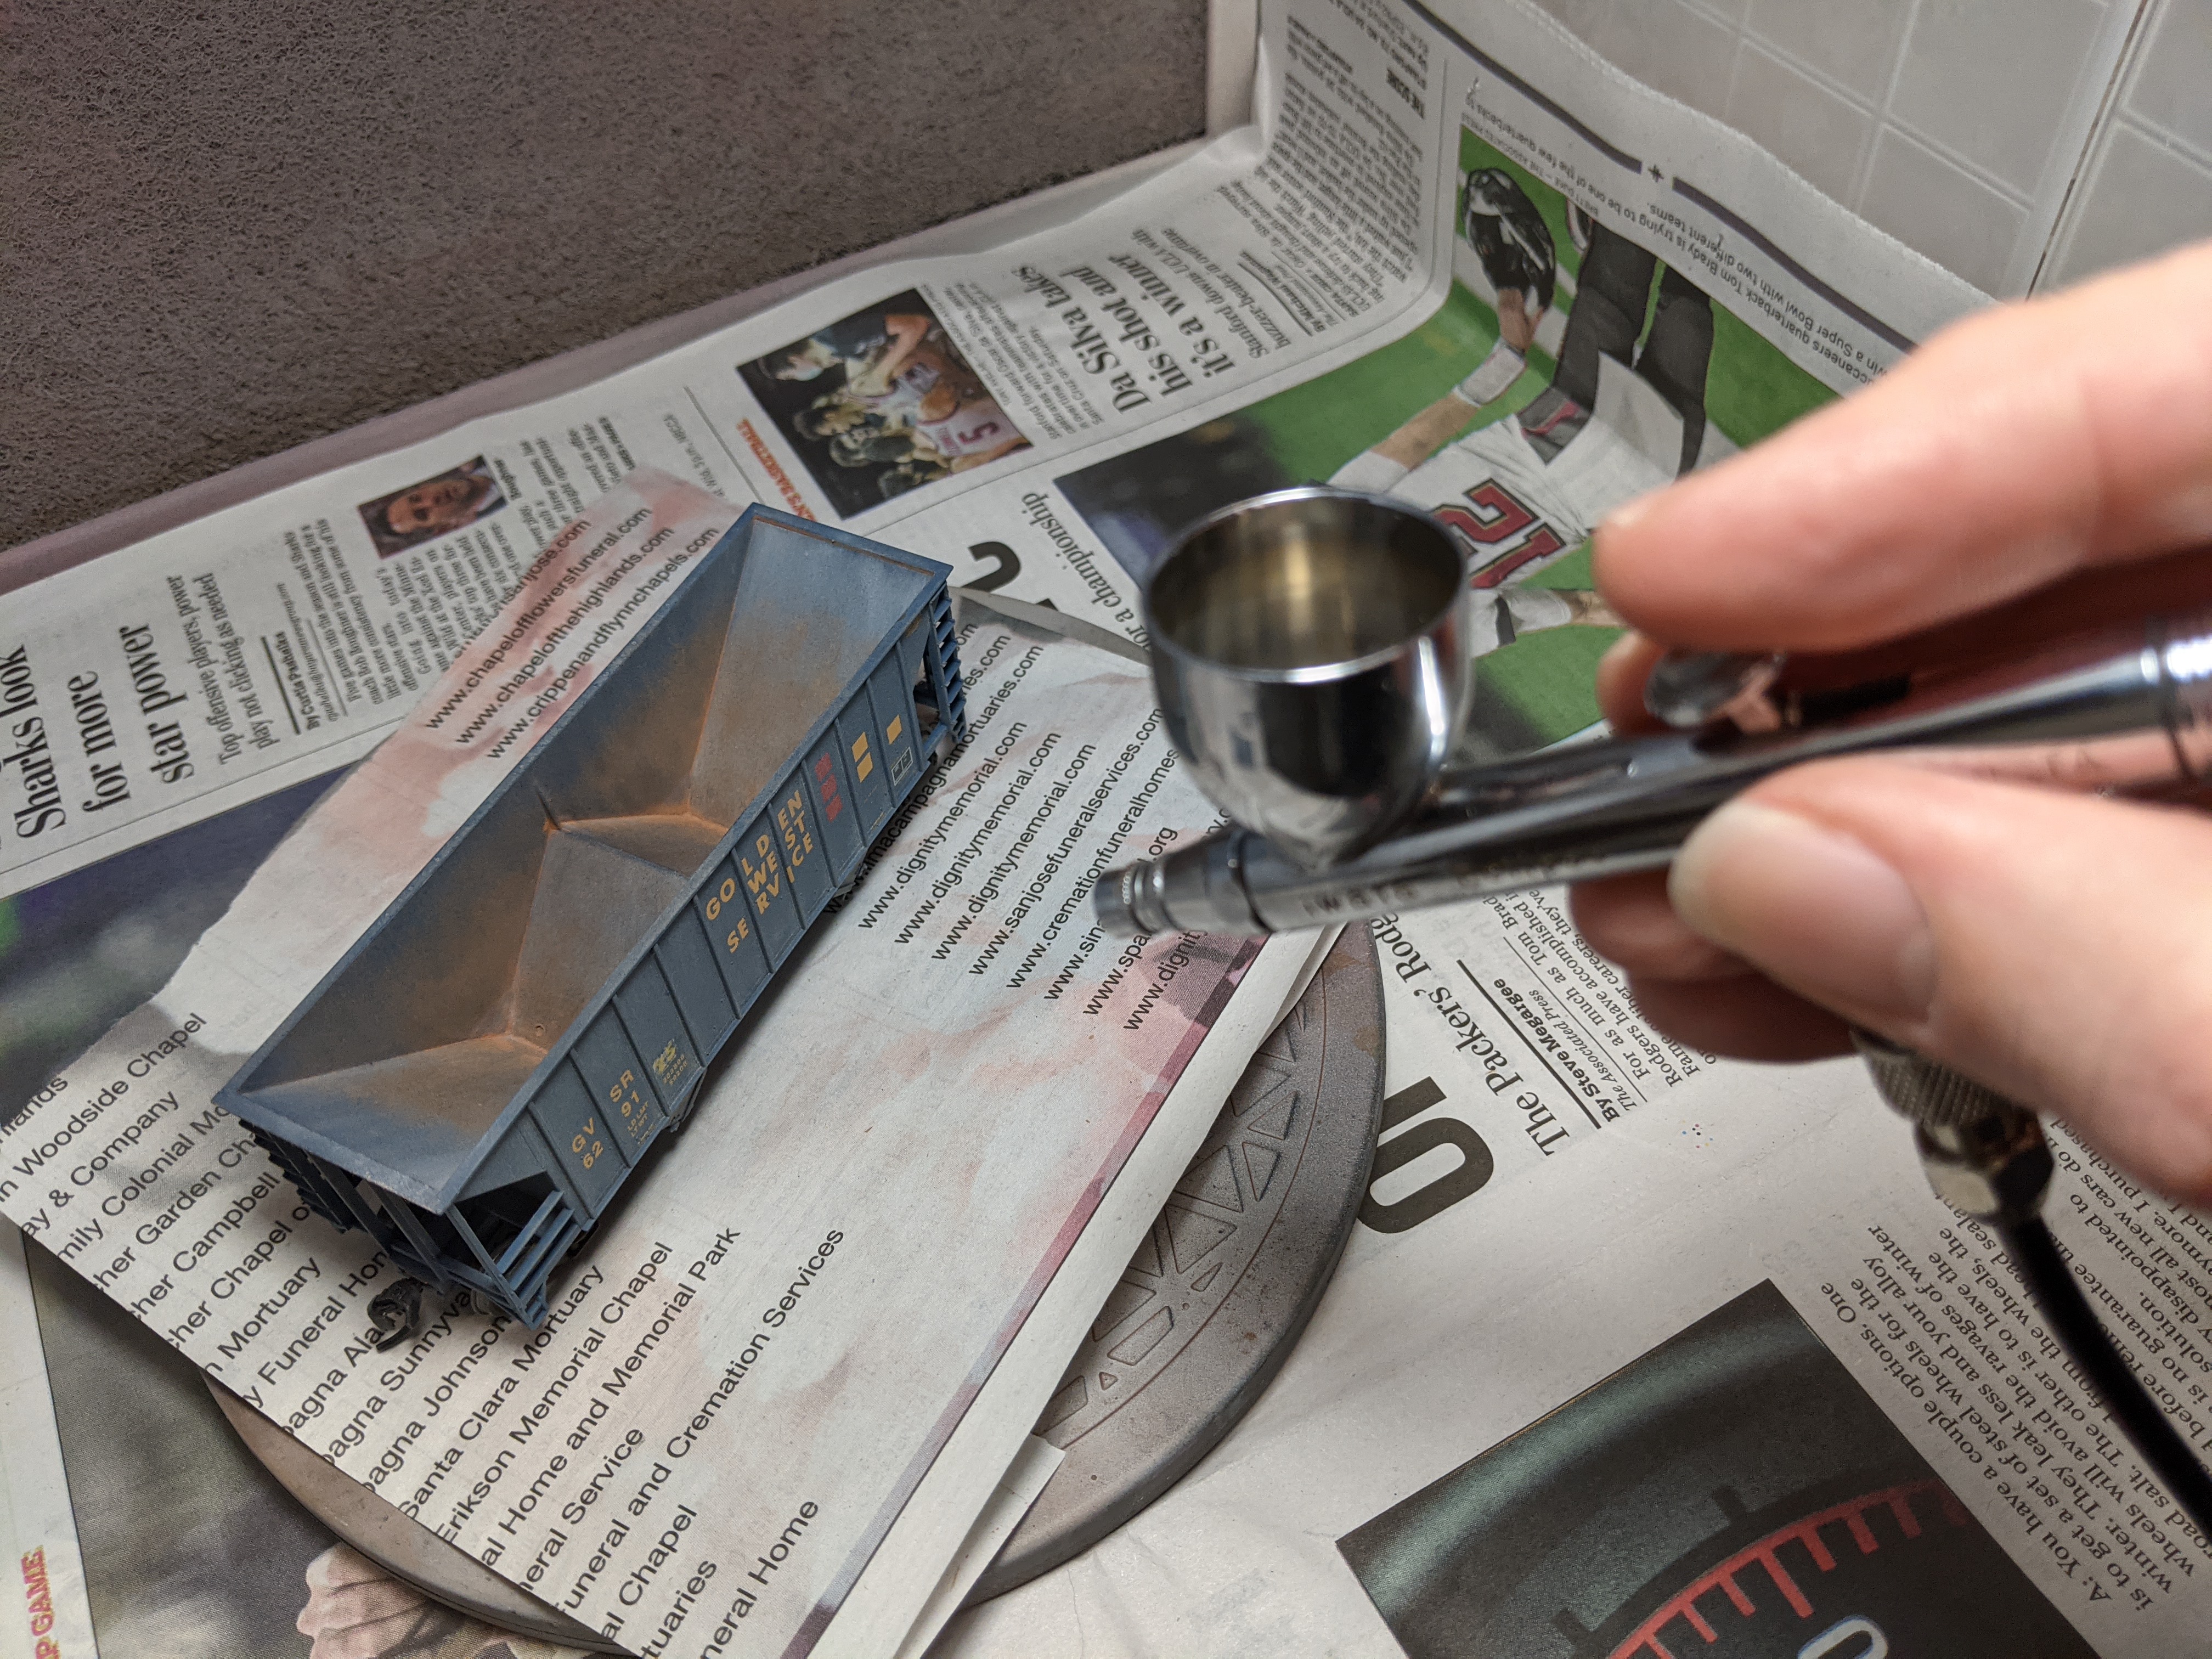
For the last few days, I've been working on a bunch of 2-bay hopper cars preparing and weathering them for gravel service at Silicon Valley Lines. Most cars are getting new numbers. Since I don't want to completely redo the numbers on more than a dozen cars, I'm just replacing the last couple digits with new decals. 

That doesn't go without some surprises. The digits for the replacement 25 are from Microscale 87-694, a decal set for Golden West Service box cars. Not a perfect match, but the decal color is very close to the existing print on the car. However, the decals are partially transparent. The yellow of the decal and the blue of the car body conspire to create the greenish tint visible in the photo. I'm going to try and tone down the difference with gravel dust during weathering.

Today I finished painting wheels and trucks. When doing multiple cars, it really helps to set up the work in assembly line fashion and keep working on the next car while parts for the previous car dry. Four to six cars seems to be a good batch size when painting. 

For weathering with PanPastels, I can do two cars in a row before I want to work on something else. Hence I have a few other projects ready to go on the workbench as a diversion.


[ part 2 ]

Tuesday, January 12, 2021

RSD5: Weathering

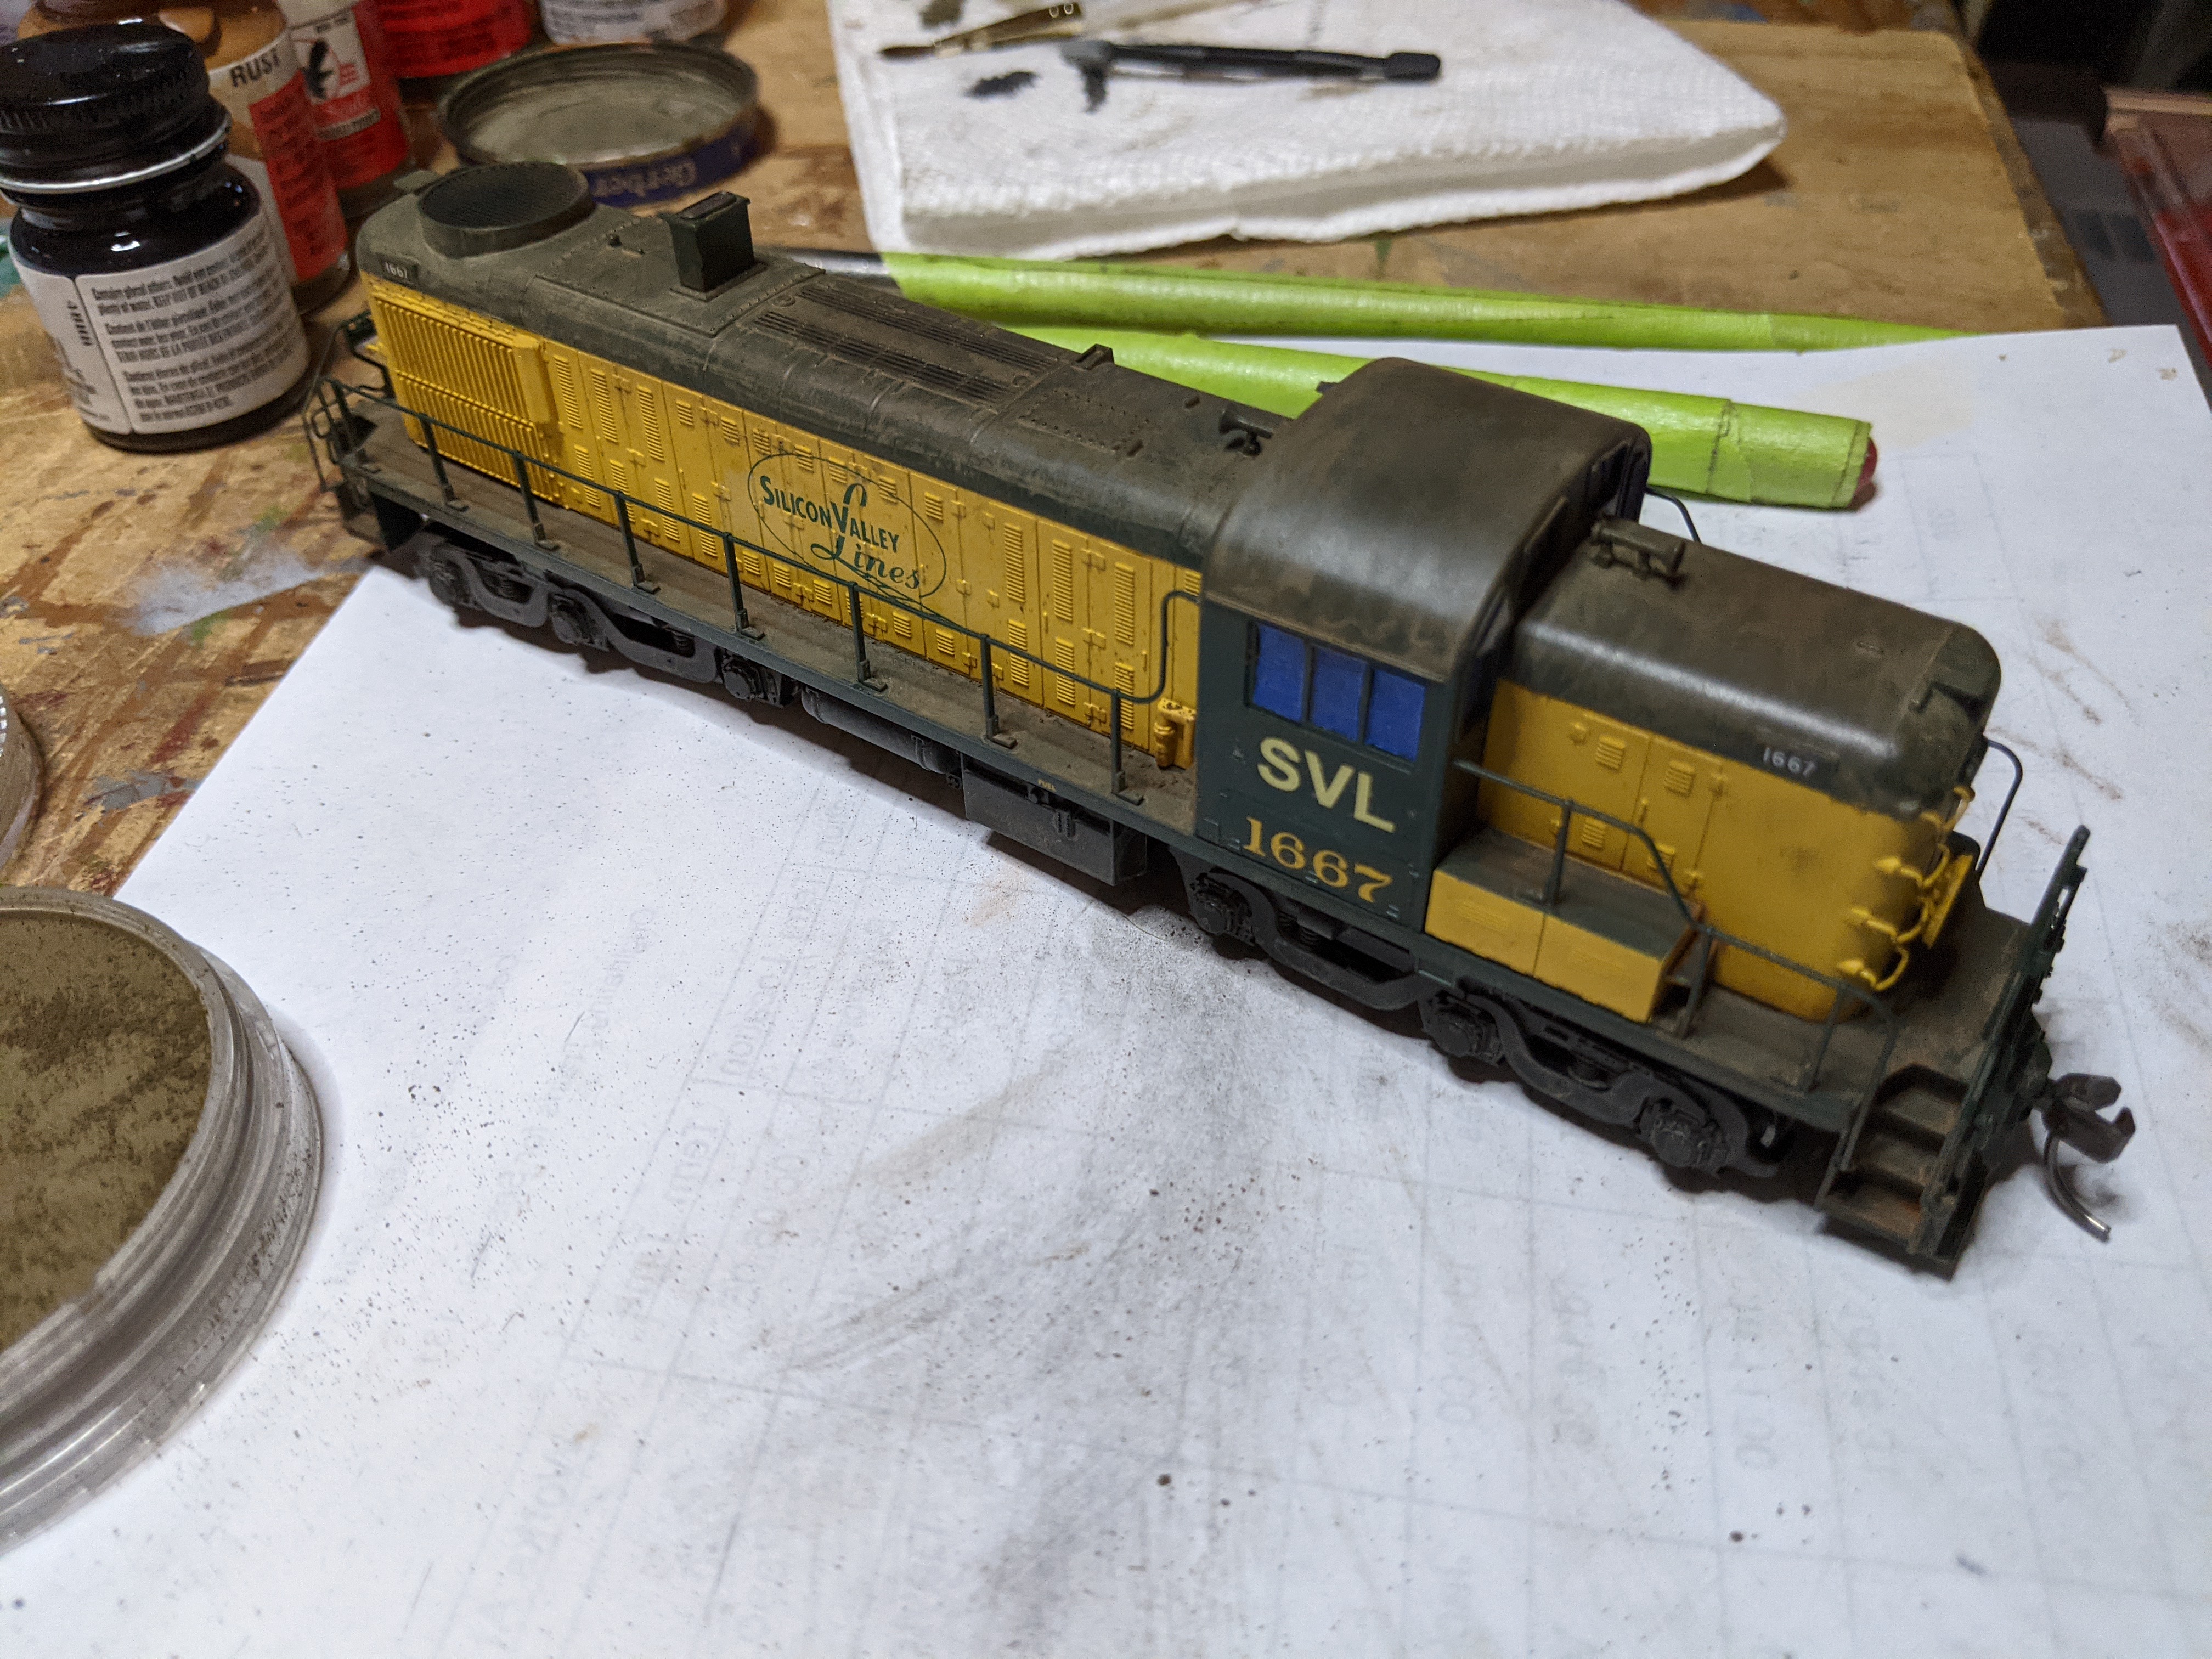
The two Atlas RSD5 in Silicon Valley Lines livery are now ready and will move to the club for final testing when the county Stay-At-Home health orders have been lifted.

After applying the SVL decals last September the locomotives sat on my workbench and didn't get any attention until early December. I started with making the units a bit dirty and applied a wash of rail tie brown. It dried much lighter than I had expected. Urrgh.

I attempted to fix the ugliness with various applications of PanPastels. I really like the versatility of PanPastels. Once I was happy with the effect, I sprayed the locomotives with Dullcote and all the weathering turned into barely visible dark shades of green and yellow. Ah right I remembered: Dullcote needs to be at room temperature, applied from more than a foot away, and only in short bursts. The idea is to not get the PanPastels wet, and the Dullcote drops land on the pastels almost dry. For me the locomotive was dripping wet. The neighbors likely heard me swearing, but were nice enough not to say anything.

The second try of weathering was a bit more sloppy, and I messed that up with Dullcote as well. Third time was a charme, and I let the engines sit for a while while I tended to other projects.

Finally, as I was weathering a bunch of freight cars with the airbrush recently, the RSD5's received some more dirt around the trucks, too, as well as a several very thin coats of Vallejo Matte Varnish.

To finish off, I carefully applied Vallejo Dark Grey wash to the rear wall of the cooling grills, which adds to the illusion that you'd look into the dark air-cooling chamber at the locomotive front. Had I used light grey with the yellow sides, the effect would have been more subtle, but it's workable, so I left it as is.

In any case, I'm happy with the overall appearance. The weathering is subtle and not totally in your face. The Vallejo Matte Varnish works well, if only it would not be such a pain to clean the airbrush afterwards. The lead photo shows both completed engines staged on the Welztalbahn. I can't wait to run them at SVL.

Saturday, January 09, 2021

More Weathering Experiments


Today I decided to finish up weathering for the half dozen cars and locomotives sitting on my work bench since a few weeks ago. The weather was nice this afternoon, so I moved to the patio outside. The plan was to apply dirt and grime to undercarriage and trucks, as well as seal the Panpastel weathering effects with matte lacquer coat. I don't have much experience with the air brush yet, so this was also a good opportunity to try out a few ideas I had and see how to come out.


I used a base of Vallejo ModelAir Burnt Umber, and an overspray ComArt Soft Dirt for trucks and undercarriage. Using a thin spray of these lighter colors brings out more texture on the trucks of the American prototype car trucks, which is an effect I like. The Burnt Umber comes out a bit too redish on light surfaces as can be seen on the RBWX box car above. The Soft Dirt tones that down a bit.


I used somewhat heavier coverage of ComArt Soft Dirt on the RSD5 trucks and equipment, too.


As an experiment I sprayed an old Maerklin hopper with ComArt Soft Dirt, heavier around the wheels and frame and lighter towards the top. The top third got a light coat of ComArt Light Rust. This simple exercise took me less than 5 minutes and goes a looong way to making the car appear much less toy-like, despite the oversize ladders and crude features. Compare before and after below.


I weathered the roof and side panels of this Gbs256 box car with Panpastels, and sprayed the undercarriage and wheels with ComArt Soft Dirt. Again a very simple exercise with great effect dramatically increasing realism.


I sealed decals and Panpastel weathering on all models using thin coats from 5-10 drops of Vallejo Matt Varnish. I made sure to keep the air brush at least 6 inches away from the model to create even layers. Between cars and reloading Matt Varnish, I ran water through the air brush to minimize gunk build-up.

Finally, some trucks and frames got an application of Vallejo Dark Grey Wash.


Friday, November 27, 2020

Accurail #80792 Wescott & Winks 40' Wood Reefer

I purchased this Accurail kit several years ago on another business trip that included a stop a Eastside Trains in Kirkland, WA. There were several versions of this wood reefer on the shelf, decorated mostly for PFE, MDT, and other well-known carriers. I didn't want to renumber the car, so I got one I knew wasn't on the club layout. 

Here's the car body straight out of the box.

I started with the underframe and applied washes of rust, dirt, and railroad tie brown. I generally just dip the brush into the color, and thin the color in a drop or two of water. That's enough for one pass. While the blotches of color and brush marks look quite terrible at first, after several applications, the blotches combine to translucent layers and create a very nice and natural color effect. At the very end, I apply a thin dusting of Pan Pastels Raw Umber Shade to pull everything together.


For the metal roof I started with a wash of light rust, focused on the ribs and crevices. When that was dry, I cut off the molded grab irons and stirrup steps and replaced them with painted Tichy grab irons (I need a finer drill for smaller holes...)

I left the molded ladders intact, because the replacement ladders I have are very finicky to deal with and seem too fragile for an operating car.


I followed the rust wash on the roof with several layers of Pan Pastels Burnt Sienna and Raw Umber shades. I toned down the car sides a bit with a Pan Pastels white shade and a light dusting and streaks of dirt still on my small deer foot brush. I'm very pleased with the overall result.


I did make a big mistake and while dusting the car side hit a spot I had painted white earlier. The pigments stuck to the slightly tacky paint clearly bringing out the outline of the paint. I made it worse by dabbing over the spot, and ended up with a nice round dark splotch on the white car side. After that I called it a day yesterday evening, and let the car sit overnight.

Today I tried fixing the blob, scratched off some of the paint and pigments, and tried to hide the mistake with white shade and dirt. This created some white splotches on the roof, which I thankfully could mostly wipe off. I could not fix my mistake 100% without having to start over on the car, but at least it's not an ugly round splotch anymore. 


I still need to add a tiny dab of paint to hide the oversized drill holes.

Wednesday, November 25, 2020

Accurail #5129 50' plug-door BN/RBWX box car

RBWX 79248 painted and weathered, but I skipped all further detailing
I've never built an Accurail car before. Why would I want to build a car if there are many finely detailed ready-to-run cars available? And why build one that won't even run on my railroad?


I picked up this kit on a business trip last year -- in the olden days before the pandemic -- along with the Bowser cars I wrote about before. The club requires metal wheel sets, so I ordered Intermountain wheel sets to replace the plastic wheel sets that came with the kit, and I should replace the plastic couplers with the respective Kadee couplers (looks like #148 is the right one). 


The car body is preformed, and the plug door needs to be installed. I wanted to the body to be closed, because otherwise I'd need to find a solution for hiding the weight that runs the length of the car. I popped off the roof walk when I toyed around with the kit in February and haven't touched the kit since. It bothered me that the roof walk is the same color as the car body, so I decided to paint it aluminum and tone down the sheen with a dirt wash afterwards.

I painted the trucks, wheels, and axles in rail tie brown, which is a nice undecipherable dark dirt color, and  applied a wash to the trucks to accentuate the details a bit more. The floor underside got a brown wash over the black molded plastic. I don't usually look under my cars, so I did this mostly to break the black plastic sheen.


I found a color photo of a ... reused ... RBWX box car and noticed that the ends are painted a brown-red commonly found on cars in reefer service. The Accurail car has the same yellow everywhere. I like the brown ends better, so I fixed that. The car numbers would need to be restenciled in white, but I'm not going to worry about that.


While I was applying a wash to the roofwalk, I also started dirtying up the roof. That didn't quite come out the way I imagined, but that's ok, the final weathering with Pan Pastels took care of that.


I used Neutral Grey extra dark to darken the roof, Burnt Sienna extra dark and Burnt Sienna Shade to set some rust highlights, and streaked these as mixture along the rivet lines on the sides. I used a make-up sponge and a fine brush to apply the Pan Pastels. Finally, I used deer foot brushes (medium and small) to tipple and brush the pigments around the car to create some variety of color shading.


I was after a slightly dirty look on the sides and a dirty, but well maintained roof. The sides got dirtier than I had planned, and the roof detail worked out differently than I imagined. However, I was happy with the look, so I sealed the paint job with Dullcote. The Pan Pastels thankfully don't react and disappear with Dullcote like the Bragdon powders do. Phew.

Weathering sealed with Dullcote.
So, why do all this? I eventually want an all weathered locomotive and freight car fleet on my own layout, so this is good practice and learning. I'm happy with the roof, not so happy with the sides, but that's ok. On to the next victim.

Sunday, January 21, 2018

Brekina Mercedes Benz L 406 D in HO


A christmas present I brought back home is this Brekina model of a Mercedes Benz L 406 D van. Out of the box it looks very ... clean. Let's fix that.

I have a sheet with license plate stickers. Apply them to front and rear. This was the first time I applied license plates to a car. The effect is subtle, but very effective.


Following photos I found on the Internet, I painted the mirror arms and back black. For the actual mirror I used aluminum metallic paint. Here's the before photo of these rather tiny parts...
While at it, I also painted the tires flat black.


Finally, I tried to apply only a very light dusting of pan pastels to show a slightly dirty, but rather new working van. In the end it got a little bit dirtier than I had planned, but I can't really complain.


Monday, October 02, 2017

Tdgs-z weathered


I did a first pass to lightly weather the car on the left with PanPastels. I like the subtle weathering effect I get from using PanPastels. It jumps out only in direct comparison to the unweathered car on the right.


These cars are rather new in the 1970's, and that's the look I'm after. There will be other cars on the Welztalbahn that will get to look worn out and patched up close the end of their useful life.

Thursday, September 28, 2017

Weathering Maerklin 4694


I picked up this model of Kbs 443 stake car for a couple bucks at a 2nd hand store when I was in Germany the last time. What I didn't notice at the time was that the car deck was buckling because someone must have hit it hard enough that the weight sandwiched between the plastic layers for the deck and the frame had become dislocated. When I took it out of the box and put it on track, it was obvious that the car geometry was off. It took complete disassembly of the car and removal of two bent metal clips to get that straightened out.

While I had it on the workbench I figured it would make a good candidate for a light weathering experiment with PanPastels. I started with the deck, mucked it up a bit with various shades of brown, umbra, and burned sienna, then went around the outside with burned sienna to both tone down the stock color of the car, as well as take off some of the plastic shine. Finally, I applied umbra around the axles, bearings, and springs.

It took me longer to reseat the weight and fix the buckling deck than to get to this state of weathering. This is good enough for my purposes with this car. I'll seal it with a flat clear coat and it's good to go.

Monday, July 17, 2017

Tdgs-z decaled


The two Tdgs cars have been sitting in a box for the last 2 months. While painting over the wrong decals was easy, I waited until the decals from www.modellbahndecals.de arrived before finishing the renumber of the car, which I did tonight.

I could have made my life dramatically easier if I had painted only over the last 3 digits of the car number. Andreas Nothaft has a spiffy set of new car numbers that go with any classification numbers (the first 4 digits). I spliced 074 9 from two numbers and finished it off a third number. Yes, that's a waste. I won't make that mistake again.

The numbers are not perfectly straight. Close enough for the first try. I hope to get better with more practice.

Sunday, May 14, 2017

Paint Shop


Backdating Maerklin Schwenkdachwagen.
First step, get rid of the DB AG logo, and the car numbers on one car. I was unable to remove the logo and numbers. Maerklin's printing process appears to be optimized for protecting lettering and logos, contrary to other models I worked on. I tried a few different approaches with no luck, and in the end simply spray-painted over the offending bits.


Pollyscale "Rock Island Maroon" is an almost perfect match for the color of these cars. I will hide the the slight variance in color and sheen when weathering the cars. The photo above is taken with the light set to highlight the difference in sheen.

Thursday, April 27, 2017

The next victim


Maerklin's 46301 "Schwenkdachwagen" Tdgs-z is a nice looking car, but suffers from two fatal flaws for my purposes. It's Epoch V (i.e. after the merger of DB and DR to DB AG), and my layout is set in Epoch IV.
And the color. No life and looks totally plastic.  Which it is, of course.


These cars were used for transporting a variety of aggregate goods that should not get wet while in transit such as grain, sugar, or limestone. The roof swings open to the side for easy loading. The cars are unloaded using the chutes on the side. Since such cars are still quite new in the 1970's,  I'm planning to apply only light weathering, as well as some dirt and rain effect.

To fix the epoch, I will replace the DB AG logo with the Deutsche Bundesbahn "DB cookie". Since I have two cars, one will get a different number as well. I'm not planning to do other fixups, such as inspection dates. They are barely readable with a magnifying glass, it's not worth the trouble.