Tuesday, January 28, 2014

LD/Ops SIG weekend

Entrance scene at Otis McGhee's Shasta Division
This year's LD/Ops SIG meet was at the Elk Lodge in Alameda, a very nice venue with quite a few stuffed elks. The day started with Clif Linton presenting his rendition of the Baltimore and Ohio Chicago Terminal Railroad (B&OCT). Clif introduced us to the prototype setting in Chicago, and how his small switching layout on a shelf grew into taking over half of a garage. I had no idea how dense Chicago's rail network used to be, and to a degree still is.
Don Marenzi's talk about paper and pulp industries put all kinds of ideas in my head that I'm not going to be able to realize ... at least not on my home layout.
After Birds of a Feather sessions, that I mostly spent chatting with various people around the Silicon Valley FreeMo-N modular setup,  we had a nice lunch with plenty more chatting and exchanging of ideas. In the afternoon Mike Coen talked about the design and build of his Western Pacific Oregon division, a proto-freelanced layout set in Oregon. 
I haven't had a chance to see Ed Merrin's NWP layout yet. His presentation about how he designed the layout to get the scenic effects he wanted was mighty interesting. A "herniating helix" or a city street that turns around the edge of the peninsula backdrop to become a rural road are not only neat ideas, but Ed gave us insight in his thought process and construction methods to make the ideas reality.
The Ocean Shore Line used to run from San Francisco via today's Pacifica halfway down the peninsula towards Santa Cruz. Pete Cressman is in the middle of building a layout that depicts this little railroad, talked about the prototype, and gave a construction update.

For the evening layout tours I visited Clif Linton, and Otis McGhee's very impressive Shasta Division. Then we moved on to Mike Coen's WP Oregon division, and wrapped up the evening at Chuck Oraftik's NYC. Every layout we saw had something going for it, and I drew quite a bit of inspiration from seeing what others had done.

A New Haven passenger train is waiting for departure on Chuck Oraftik's NYC
Sunday I operated on Jon Schmidt's Nicosia Northern Railway, which was a different, yet interesting experience for me. I got the Yardmaster job and realized that visualizing moves, what works with the track work and what doesn't, is a lot easier once you've done or seen it once. On top of the amount of transfers to be worked in the yard, the tracks around Bayside Yard are sparse enough to be challenging and it requires planning to optimize activity. Apologies to Bob and Peter for completely gumming up their yard moves in the first half of the session...
I really like how Jon added servicing and turning of passenger trains into the operating scheme and got away from token passenger ops.

The Evening Glow is ready to push down to Bayside Ferry to pick up passengers returning from San Francisco by ferry
After the debrief at Jon's place I headed over to Bill Kaufman's State Belt, and marveled at the maze of tracks Bill recreated in his garage. Bill is also a quite entertaining host with lots of knowledge about the State Belt, its history and operations, so I stayed quite a bit longer than I had planned.

The Ferry Building with lots of State Belt tracks leading to the piers
As in previous years, this was a great way to spend the weekend. I had good conversations with like-minded people and enjoyed the friendly atmosphere.

An earlier version of this post accidentally attributed Chuck's layout to Steven Van Meter.

Saturday, January 25, 2014

Evening at LD/SIG

Fairly grainy evening picture of passenger service on Silicon Valley FreeMo-N modular layout at this year's LD/SIG meet in Alameda. 

Sunday, January 19, 2014

Saturday, January 18, 2014

Done for tonight


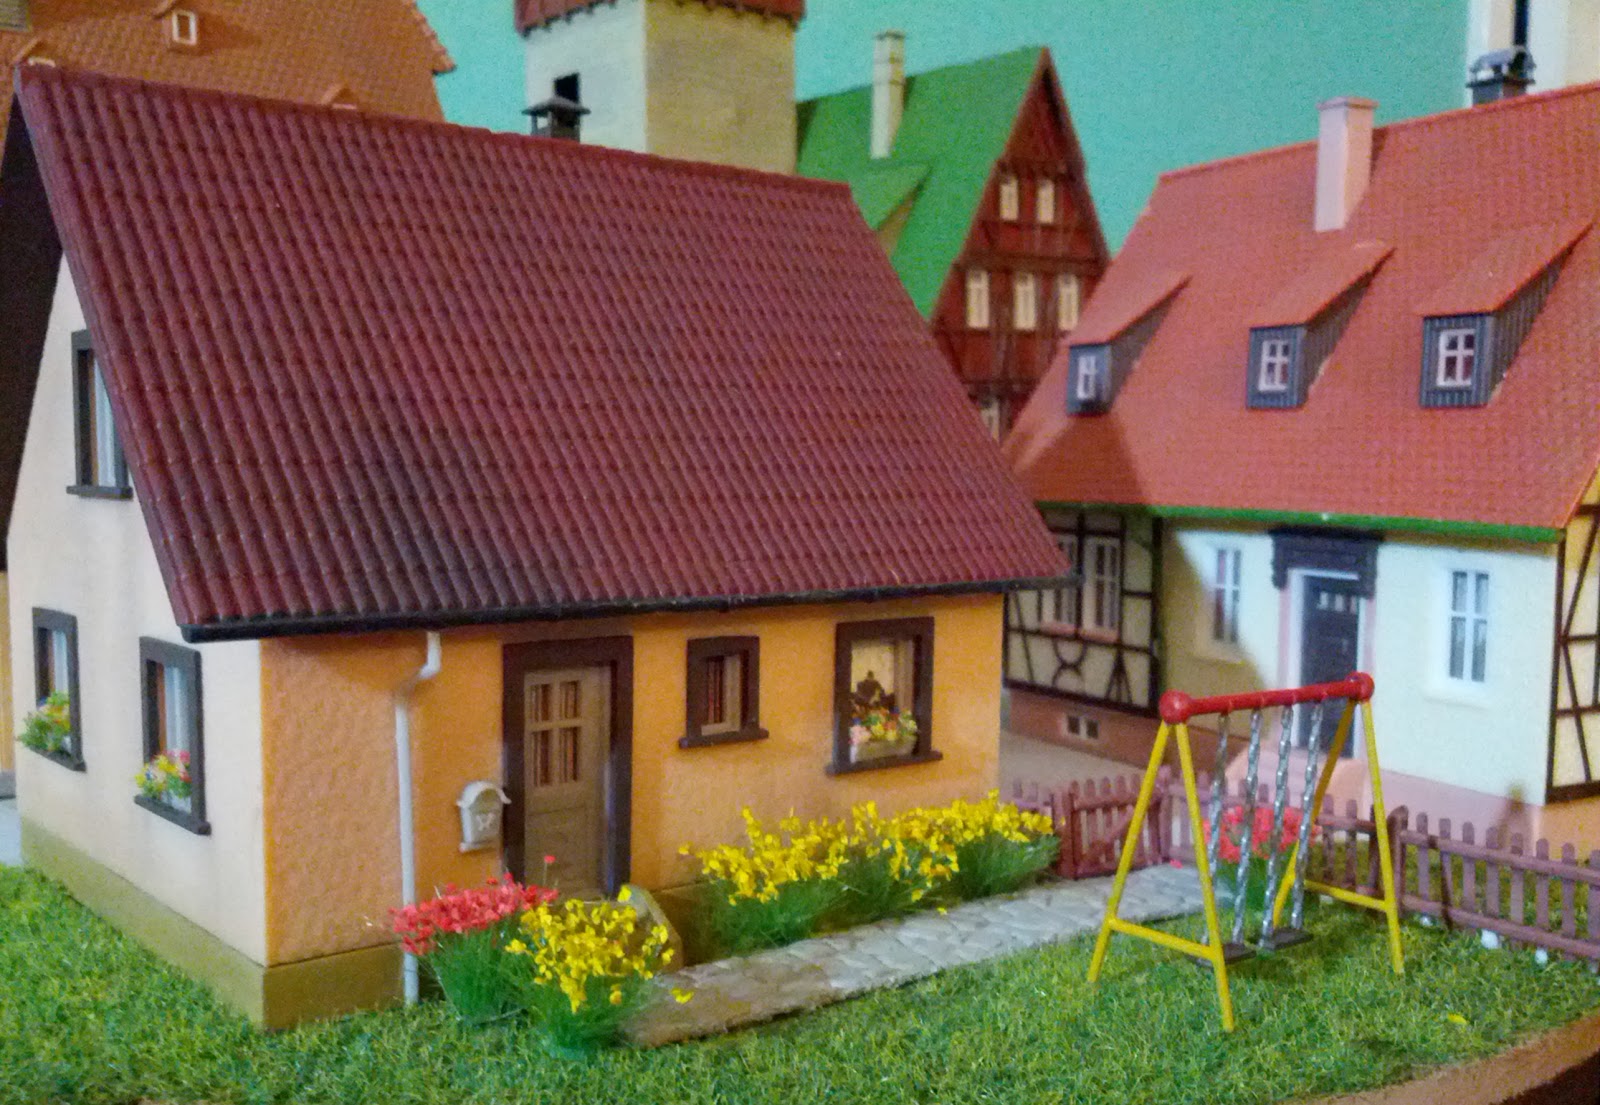
Just a quickie picture. First attempt to do a backyard garden. Maybe a bit too ... bright.

The house needs drainage around the foundation. That can be arranged.
The swing set will be on the permanent part of the layout, which is why the lawn will continue to look nice and well-kept where the swings are currently located.

Sunday, January 12, 2014

Work in progress


Today I finished building curbs, weathered the roads a bit, built retaining and safety walls, and put a first layer of grass down.

The curbs are made from Evergreen 0.040 x 0.060 styrene strips. They match the sidewalk height and are easy to bend. I attached them with plain Painter's Calk, which is very tacky and it's easy to keep things in place when positioning 10 inches of curb along the street. Since we're inside a town, I put curbs everywhere when there's no sidewalk. The weathering of the road is a bit overdone, but it looks worse in the photo than for real.

For the grass I painted the ground with my standard earth color and sprinkled fine Woodland Scenic turf into the wet paint. Once that is dry, I'll vacuum off all loose bits, and follow up with matte medium and a helping of static grass to match the area below Steinle.

Saturday, January 11, 2014

Emsingen by night

You're all probably bored to death by my never-ending Emsingen postings. The boredom continues....

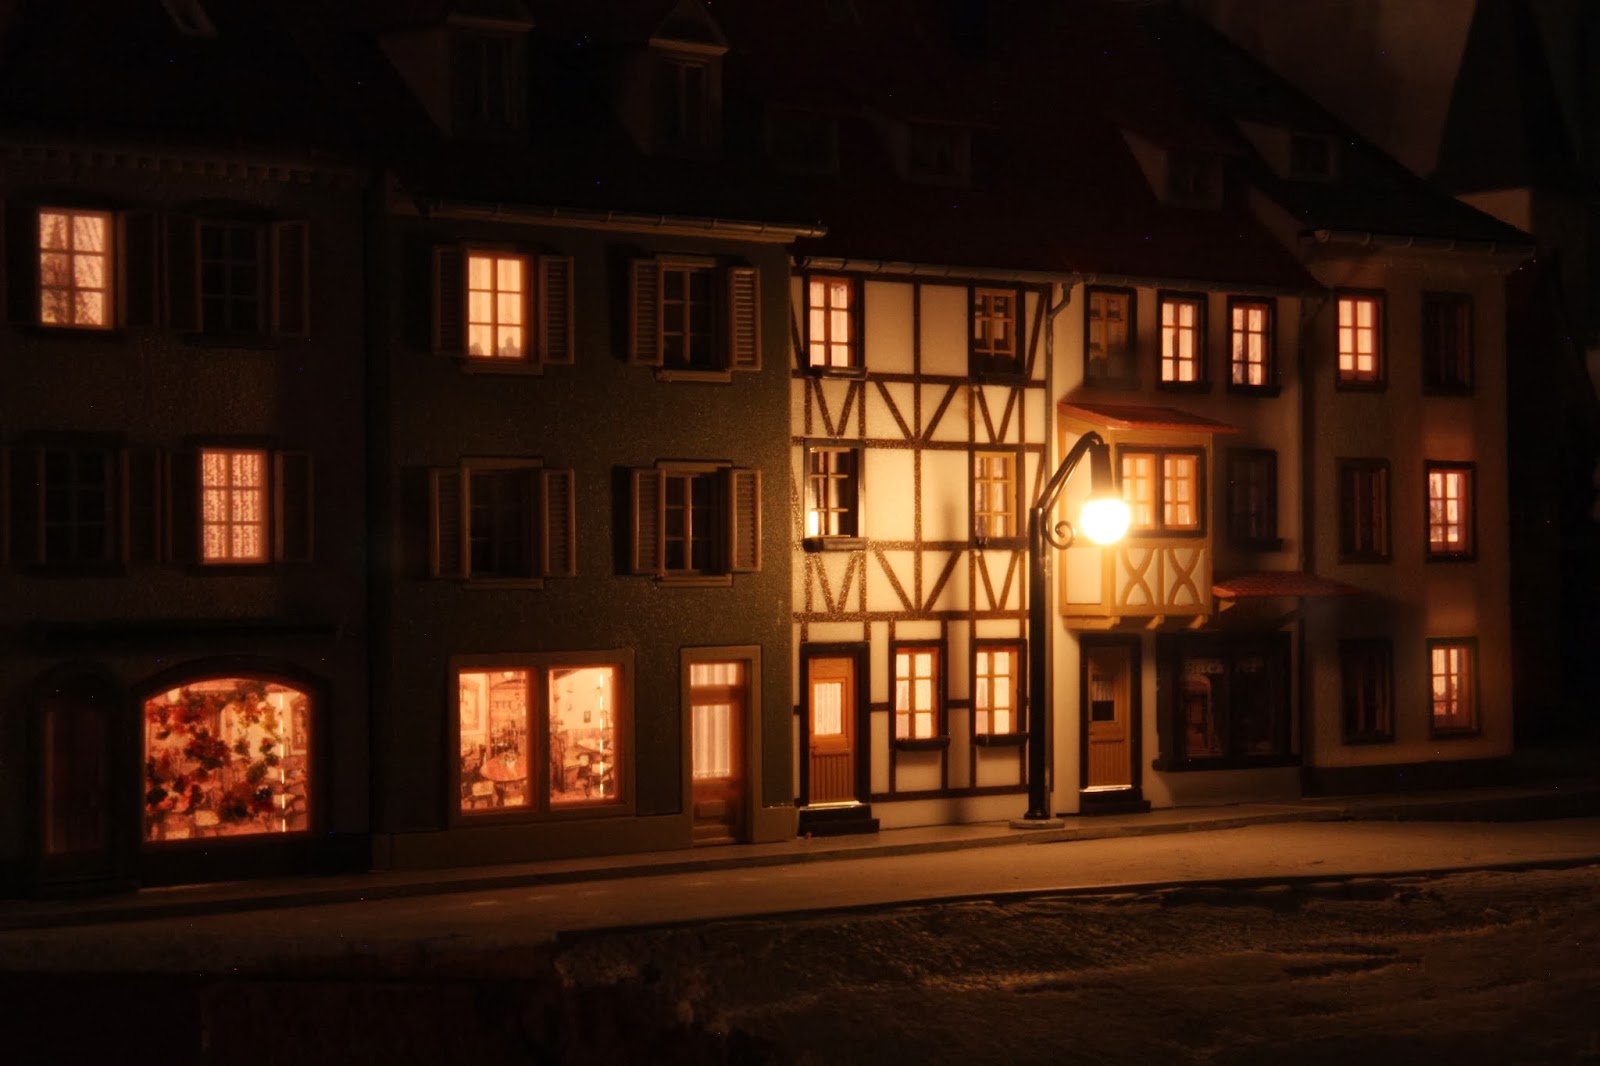
Here's a night shot as seen from the tracks.


 And an overview of town:


There are almost 30 tiny light-bulbs in this photo. I'm using a cheap 12VDC/ 1A power supply for now, and step down the voltage to just over 10V with a couple diodes in series. Eventually, I'll either run a 12VDC bus under the layout for lighting, or power this from the existing 16VAC bus and use a LM7812 voltage regulator.
When running at the full 750mA the diodes get quite warm, so I split the circuit in half and feed the halves through separate diodes. Here's a photo of the underside of town before I finished cleaning up cabling ...


...  the finished cabling doesn't look at whole lot better.

Next up is adding basic scenery in the front, some more weathering for the roads, and starting the backyard / fruit trees scenes on the right.

Monday, January 06, 2014

Good Morning!

Sunrise over Edenvale

It's a new year in life.
It's a new year at work.

Very nice two week break.
Now back to the day job.

Thursday, January 02, 2014

Happy New Year

Happy New Year everyone. 

It's still quiet in Emsingen shortly before midnight. But in a couple minutes there will be fireworks.
Today I added lights to new town and just test wired the bulbs together to figure out the right voltage. The bulbs are Micromark's grain of rice 12V/30ma. The photo was taken with the transformer set to 10 Volts. Looks good to me.
The street light is from Viessmann. I have a few more of those to be used around town.

I'm surprised that there's almost no light leakage under the buildings. They are standing loosely at their place. It definitely helps to raise the bulbs to about the middle of the buildings:


As can be seen in this photo I also painted and weathered the sidewalk helped by some bubbles. There are a few minor things left to do here before moving over to old town and installing lights over there.

Tuesday, December 31, 2013

Monday, December 30, 2013

Creating a town

I've been struggling quite a bit over the last few months with the town of Emsingen, especially the area I call old town, around the Rathaus (town hall). I wanted the Rathaus and the Rathausplatz (town hall square) to be a focal point, with several appropriate houses grouped around it. I wanted there to be a small farmers market, as well as some depth to the arrangement overall. If you look closely at the Emsingen posts on this blog, you'll notice how the arrangements have changed over the course of the last 15 months.
As I built the town foundation having settled on an arrangement for "new town" I was still unsure whether "old town" will work. I was bothered by the area the houses are set on, and the open space before the Rathaus. I didn't know how to arrange the market stalls. I had been toying with using the small fountain somehow to provide a boundary, but didn't know where I was going with that.


I built the sidewalks for "new town" today, which created a very pleasing feel to the arrangement. As I sipped on some Gluehwein tonight meditating over the setup, I realized that what's missing is structure to the Rathausplatz area and a clear separation of street and pedestrian areas. I settled that streets in old town would be fairly narrow, and -- where I could get away with it due to sight lines -- impossibly narrow to save space and create depth. There would be a narrow street in front of the Rathaus, which creates pressure for the farmers market to squeeze into a smallish space. I built only three stalls, so the need to fit into a small space works to my advantage. A village detailing set (yeah, that is from Faller, too) provided a string of stone railings to define the other side of the market area.

I made a paper template of Rathausplatz (in fact, I made more than one as I tried out alternatives), defined the street and the market area, where the fountain goes, and ... things started to come together.


As I photographed the farmers market, it became clear that the streets in old town need to be cobblestone.

Now the question is: Am I going to make cobblestone streets myself, use my precious Auhagen roman cobblestone that is intended for Talheim in a far away corner that is barely visible, or find regular cobblestone sheets locally?

Sidewalks

The new part of town is getting sidewalks. I moved the whole town module to the "art table" in the living room that serves as my workbench during the holidays.

The first sidewalk sheet is glued down at the tree
I figured that a typical city sidewalk is about 10cm high, which works out to about 1.15mm. I have 1/16" styrene sheet at hand, which is 1.5mm. Close enough. I also cross-checked with the houses that have attached sidewalks, like the one on the right. Those are the same height, give or take a a couple tens of a millimeter, i.e. indistinguishable to the naked eye at normal viewing distances.

One hour later, everything is shaped and glued down.
I'm quite happy with how this is coming together. ... Oh, just realized I didn't paint or detail the sidewalks before gluing them down. That might be interesting.

Sunday, December 29, 2013

Timesaver rework done for now

I'm itching to get back to working on the town of Emsingen, so I'm leaving the Timesaver in the stable, operational state it is in right now.

Things I did over the last couple days:
  • Added more feeders
  • Reworked half of the tracks to allow more flexibility for automated running
  • Added two more detection sections
  • Ballasted all tracks
  • Minor scenery work
  • Tested tracks and engines
Here's what the Timesaver looks like at this time.


The one track on the switch side ballasted in brown has been this way since my last attempt at ballasting. At the time I had only HO size ballast, and it did look appropriately silly on N-scale track...

Saturday, December 28, 2013

Electronics and ballast done ... almost

Up until now I kept the electronics (USB interface, AIU, BD20) loosely connected in a cardboard box near the Timesaver. Now everything is neatly tucked away under the layout. I'm also using a longer multi-cable for 16V AC and track power, so the NCE faceplate doesn't need to sit in a somewhat awkward corner under the layout board.
The Switchpilot is intended for computer control of the lone turnout in the corner. We'll see how well that works out. I had so much trouble with these units on my home layout that I don't quite trust it yet.

The underside of the layout looks a bit more complicated than it really needs to be. I went a little bit overboard when I wired the turnout switches a couple years ago.


I added extra feeders, including the drops for the new detection zones. Left to do is wire up the second BD20 and test the Switchpilot.

I started ballasting track yesterday, and finished up that mess today. Ballasting can be a meditative experience, but today I just wasn't in the mood, and messed up the half-glued, carefully shaped ballast more than once. It didn't help that the glue didn't want to cooperate today, ... or maybe I was just too impatient.

Friday, December 27, 2013

End of the day


The unmodified half of the Timesaver is ballasted, and the other half has the new track installed.
Now the glue gets to dry until tomorrow.

What's the point of the turnout in the far corner of the segment you ask? - In the office it connects to track that runs across and around my desk. Take a look at the video.

Modifying the Timesaver

The office layout supports automated running. I want to be able to have two trains take turns on the single track section. That requires slight changes to the Timesaver side of the track. While at it, I'm fixing up minor issues with the existing tracks.
Tracks removed

Most replacement tracks are cut and the extra roadbed is glued down.
Waiting for the glue to dry. Time to bring the kids to bed...

Emsingen town foundation, and outlook on 2014

Over the last couple days I finished up the foundation for Emsingen. Getting a smooth road on this somewhat tricky arrangement using a spatula is ... challenging. When the flatter area at the bottom didn't really work out at all, I fell back on Joe Fugate's "building a smooth road with styrene is way too easy" recommendation. It worked out quite well. 
 
The road surface is too light at the moment, but I'm planning to fix this with some weathering using a light wash and weathering powder when I blend together roads, side-walks, and building base plates. 
 
Emsingen town foundation. Roads are done and painted.
 When I test-fit the freight shed on the patio yesterday it appeared that the corner of the shed extends onto the access road to the train station. Thus, I ended up taking the whole thing inside for a test setup. It turned out that everything still fits together. It's tight, but workable. I might shorten the loading ramp on the street side a little bit once I get to building the station area.

Removable section of Emsingen set in place and populated with buildings.
A couple things I noticed with Emsingen in place:
  • Freight shed and Bahnhofstrasse are really tight.
  • Need overgrown wall below the houses behind the freight shed. Rocks under Marktplatz need to match color behind Steinle.
  • Somewhat step dip towards the grade crossing is needed. I should have rasped down the street an additional 2mm or so towards the edge.
  • Arranging backyard / garden on the right hand-side in above photo so that the gap will mostly disappear will be difficult. That's actually true for all the gaps. I might experiment with thin styrene "flaps" to cover the gaps at least for the streets.
  • Keeping the whole thing removable and not damaging the foundation or buildings in the process requires some kind of hidden lift-out / lift-in help once scenery is completely built. I'm not sure yet how to do that. Maybe string loops hidden behind houses on the left and right?
  • The next removable section will not be this big.
Finally, an overview shot of the setup as seen from the Talheim operator position.

Emsingen Lokstation, station, and town. Obviously I need to finalize the backdrop.
I plan on completing installation and wiring of lights for the town of Emsingen before I go back to work in January, and maybe even finish basic detailing. Then I'll move back to the engine servicing area, fix the turntable, detail the roundhouse (including a mechanism to open and close doors). Once that's out of the way, I can blend together the two areas, and complete work on the main station area, both street-side and track-side. It'll probably be May or June by the time I'm done with that.

Today I'm taking a break from Emsingen, and work on the N-scale Timesaver instead.

Tuesday, December 24, 2013

Verwaltung


Sprucing up an otherwise somewhat boring brick building.


Emsingen town foundation

Now that the base of Emsingen is glued together, it's time to go full out on terra-forming. I'm using various instruments, but the dry-wall saw and a basket rasp proved to be the most effective.
 
Cutting pink foam is not nearly as messy as cutting styro-foam.
Rough street outlines are drawn in the areas to be terra-formed.
Contours are in. One can see where the main road is going to come down to the crossing, as well as the turnoff to the station. Shaping outside with the shop vac running keeps the mess to a minimum.

Time to even out the road surface. I used spackle paste, but I should have done a first rough coat with Scuptamold or the plaster/vermiculite mix.

Scenery contours going in. I use a plaster/vermiculite mix for this.

Monday, December 23, 2013

Silicon Valley Lines Open House


Hey look! It's me at the Silicon Valley Lines Open House in November.
Behind me are Nowheres Yard on the left and the hump yard on the right.


Matthew is running a long coal unit train past Jacksonville through Igo.  Photo credits Robert Lombardi.


When Robert sent me his photos, I realized I had taken a few with my cell phone as well.


Engineer Pascal and Conductor Franziska running the Passenger Special past the high bridge at Mt. Nichols.


At the end of the day, always the best thing is to have fun with friends.


Sunday, December 22, 2013

500 days

... since the last reboot.


New hard disk is installed, and fsck is chugging away on first boot since the file systems haven't been checked for 657 days ...

Emsingen Marktplatz

Every Tuesday and Friday, there's a small farmer's market on the Rathausplatz in Emsingen. It's very popular with the locals, since they have local, organic fruit and vegetables, as well as liquors and wine.


When I wasn't racing Go-karts this week, I built the market booths, and detailed their offerings.

I took the photo outside in bright sunlight on a temporary diorama.

Tuesday, December 17, 2013

Sunday, December 15, 2013

Closing the gash

What are all these houses doing on the tracks? Looks like the whole town moved! 


Indeed!


It's time to close the opening under the town hall square ("Rathausplatz") and rough in main street down to the station and the track crossing.


The trick here is that the whole town -- all the way down to the freight shed -- will remain removable. Thus in order to avoid a multitude of visible cuts, I'm building one large piece by gluing pink foam sheets between the hardboard supporting the town and the styrofoam piece where the freight shed is located.
This way I can lift out the whole section, and do the messy land form sculpting in the backyard next week. In addition I can build streets and squares for the town, wire and detail everything at the workbench. 

I've never worked with pink foam before, but already am finding it far superior to styrofoam. I'm using DAP Dynaflex 230 silicon caulk to glue the various layers together. There's some foamboard in there as well to get a tight fit.

Monday, December 09, 2013

Addition to the office layout

As part of a bet that I wasn't quite aware of, a co-worker got me "something for your trains", and since it was work, he wanted me to pick an engine for the office layout. Here it is.

Bachmann RS-3 in Western Maryland livery
This is a basic run-of-the-mill Bachmann unit, DCC included. It does need a little bit work as the pickups loose contact in left curves. However, it navigates right curves just fine. I suspect some tab looses contact as the trucks swivel and needs to be adjusted a little bit.

Friday, December 06, 2013

Rain clouds moving in


Looks like we're finally going to get some rain tonight.

Wednesday, December 04, 2013

Emsingen Hauptstrasse buildings


Over the last week I built a bunch of houses for the town of Emsingen. The corner is getting busy.


Different angle looking up from where the main street is eventually going to cross the tracks. Most houses in the new block are relief buildings, so only the front fassade and the roof facing the street are present, while the rear is missing. The only exception are the green house to the right of the tree, as well as the corner house on the left.

These are all built from Faller's 130430 "Relief Houses" kit. I modified the kits only slightly, and applied some gentle weathering. More weathering and patina is needed.